
by Grillers Gold | BBQ, Holiday
Grilling gifts are the gold standard for the Father’s Day holiday. So as you shop, check out this menu of ideas.
Keep those summer beers cool
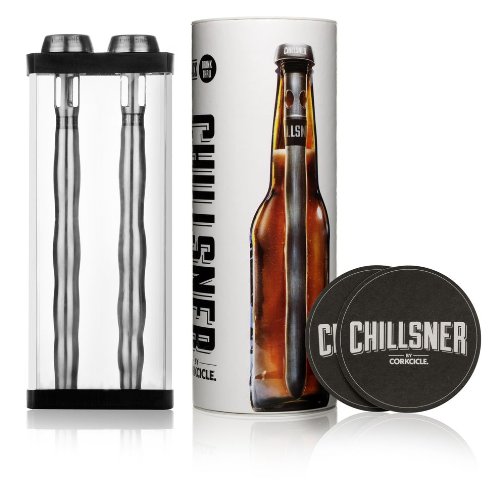
Corksicle Chillsner Beer Cooling Sticks come in a 2-pack. Just insert into long-neck beer bottles and, well, chill.
Use steam to clean the grill
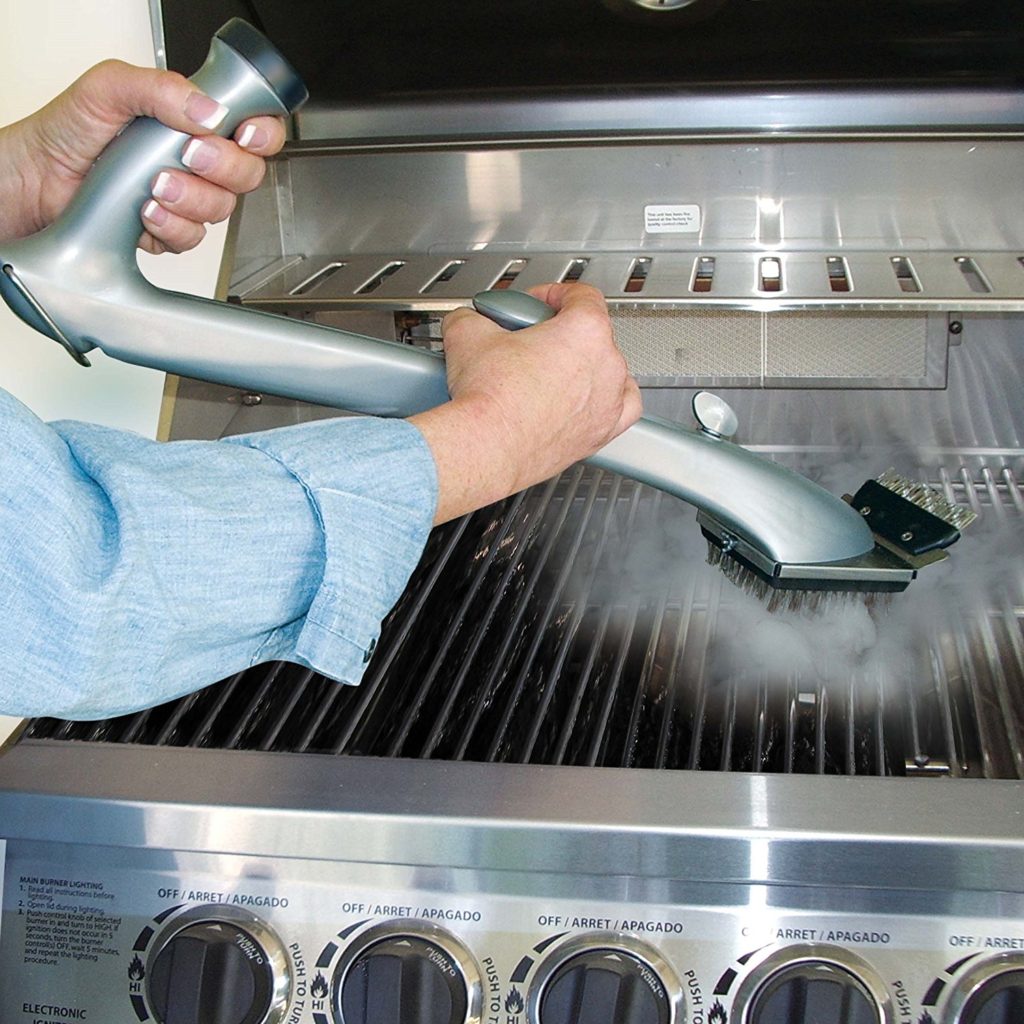
The Grill Daddy Pro Grill Brush uses the power of steam to clean baked-on grease and food. And that lets the man relax on his big day. (Thanks to BuzzFeed for showing us those two fun items.)
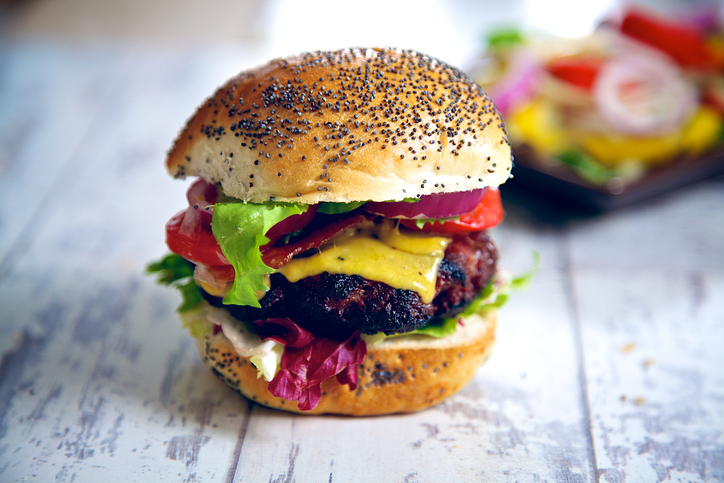
And how about a couple hot-off-the-wood-grill gourmet treats that help Dad cook up the best burgers ever?
Check out our best burger trends and tips here.
You can also keep it simple and delicious by referring to these recent gift guides from Griller’s Gold.
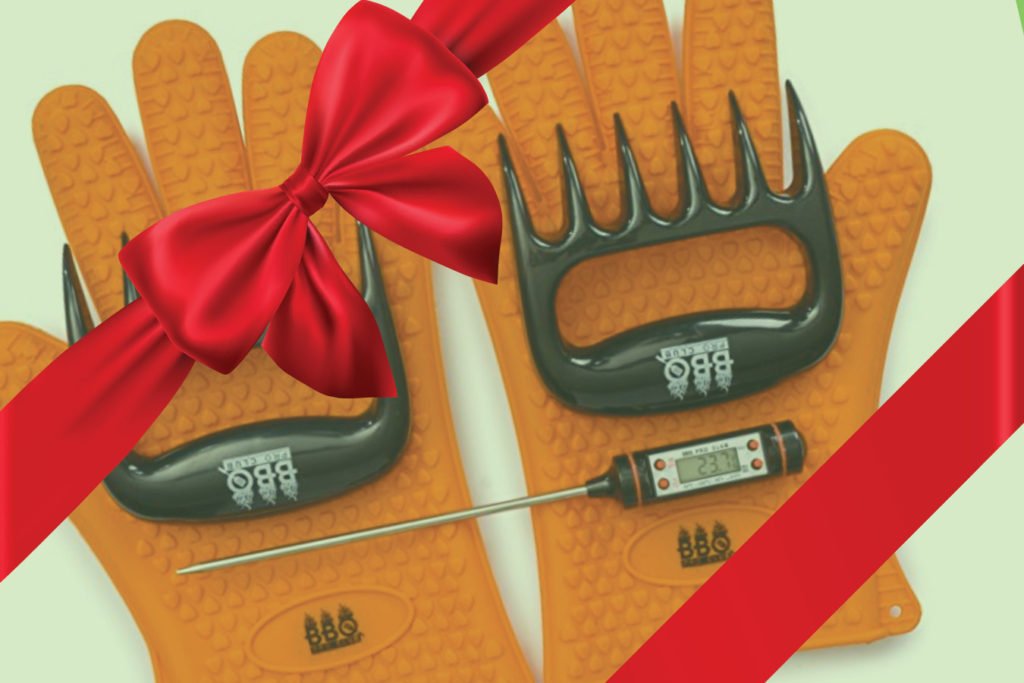
Want cool grilling gadgets with a touch of tech?
Think you want to go natural – just like Griller’s Gold pellets that are made from one natural ingredient, wood?
All of us at Griller’s Gold wish you a great Father’s Day celebration in your own backyard.
BACK TO BLOG

by Grillers Gold | BBQ, Flavor
Get a new take on that griller’s favorite, the burger. Look at what’s popular in the burger world right now, and learn how to cook the perfect burger on your wood pellet grill.
Layer the smoked flavors
When you’re using a wood pellet grill, great smoky flavor is a sure thing. So make the most of it. You can build on that base of smoked flavor with chipotle sauce, smoked cheese and other savory notes.
Chipotle BBQ sauce
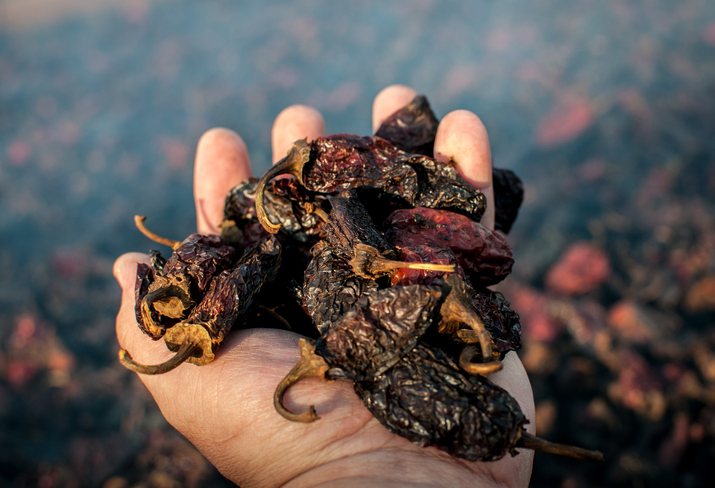
There’s a choice of options on the market, because spicy smoked chipotle pepper flavor is so hot.
- Many mainstream grocery BBQ sauce brands include a chipotle version in their lineup.
- If you’re in the mood for something artisanal, you can find winning taste with specialty brands like Oklahoma-based, award-winning, family-owned Kosmo’s Q Competition BBQ Sweet Apple Chipotle sauce, available for direct shipping or via Amazon.
- And if you just know that grilling is your superpower, you can make your own from scratch and take all the credit; check out this well-reviewed chipotle sauce recipe.
Smoked cheese
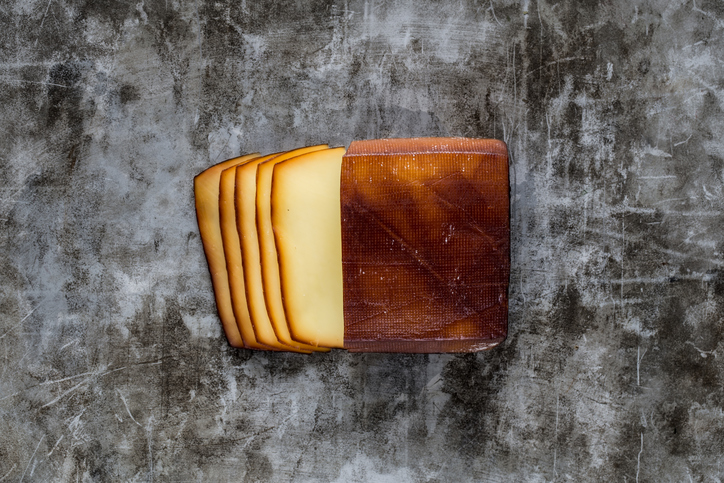
You won’t go wrong opting for the classic smoked Gouda, which you can order sliced at many grocery store deli counters. Or enjoy a trio of innovative flavors in this Smokey Cheese Gift Pack. Extra bonus: these tasty cheeses are shipped by Wisconsinmade.com, so they come from the home state of Griller’s Gold.
For more thoughts on layering complementary flavors – and contrasting ones, too – read Menu Planning 2: mix and match your menu items.
Don’t expect too much in the way of char
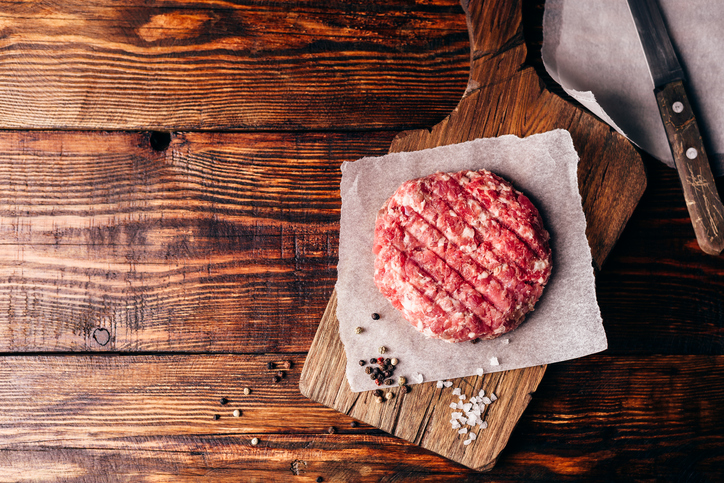
First off, remember that wood pellet grills use indirect heat. And a sear or crust requires direct exposure to high temperatures. Your wood pellet grill instructions probably tell you to cook your burgers at a relatively low temperature setting for what might seem like a surprisingly long time, then pull the patties, turn up the temps, and wait to hit the high heat to sear for a few final minutes. Look around on the wood pellet BBQ forums, and you’ll find a lot of comments about how cooking for a good crispy char is an elusive goal.
But don’t despair! You can add some texture and crispy crunch by rubbing ingredients on the outside of your burger and letting the indirect heat do its cooking thing. You can create a crust on your burger with something as simple as crushed peppercorns. Black peppercorns are fine but multi-colored mixes add more interesting flavor notes. Go all gourmet on your burgers with rainbow whole peppercorns that you buy in bulk – because you’ll want to use them a lot!
Enjoy a cool beer on the side with your burger!
BACK TO BLOG
by Grillers Gold | BBQ, Flavor
When it comes to cooking, you want to pick the right ingredients to get the most delicious results. And when it comes to grilling over wood pellets, you want to pay special attention to two things: The meat, and the wood pellets themselves.
Celebrate low-cost cuts
The origin of the word ‘barbecue’ is generally considered to be ‘barbacoa,’ a word from the West Indies referring to slow-cooking meat over hot coals. But the Oxford English Dictionary leans toward tracing the word to the French phrase “barbe a queue,” meaning “from head to tail.” Either way, according to University of Virginia’s page on barbecue history, a 19th-century Southern gathering of rich and poor often took place around a meal of barbecue, using every cut of pork. Such church and political events continue nowadays in many parts of the South.
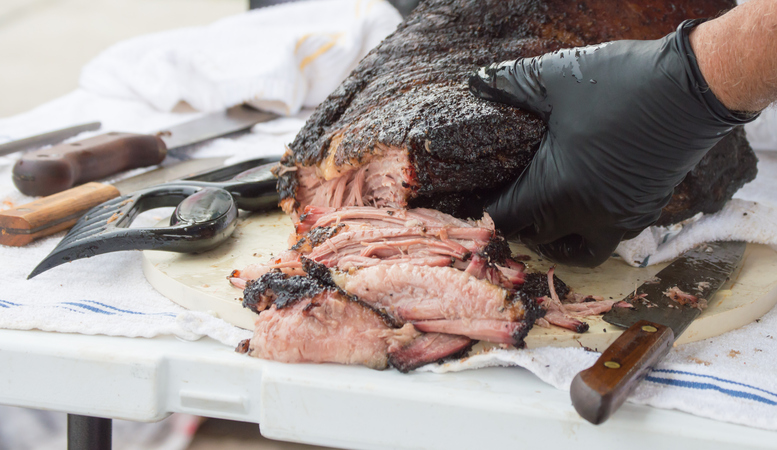
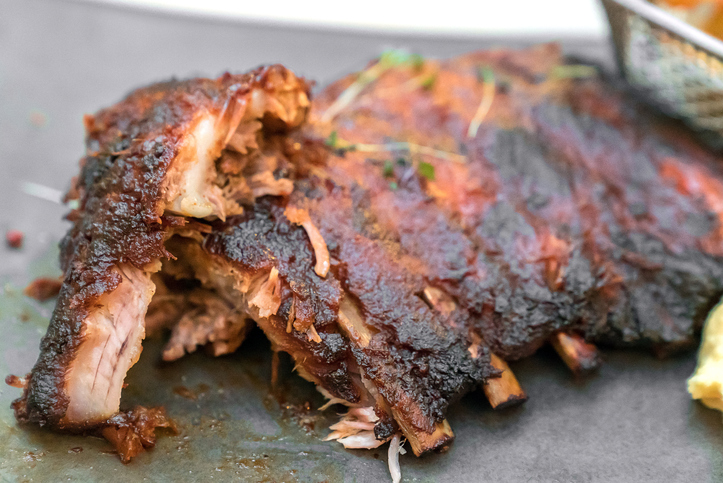
Whether you’re eating today at a barbecue shack, a church picnic, or in your backyard, you can count on smoking and traditional barbecue to make the best use of the most humble cuts of meat. Traditional barbecue selections include pork shoulder, beef brisket, ribs. They’re tough, chewy, fatty, and therefore undesirable for most other cooking methods. Slow cooking makes a virtue of fat and connective tissue, breaking down the tough stuff over hours of cooking time. The result is a pile of sweet, moist meat on your plate.
So make a point of shopping for humble cuts when you’re planning on barbecuing. Your investment will surely pay off.
Ingredients that go up in smoke
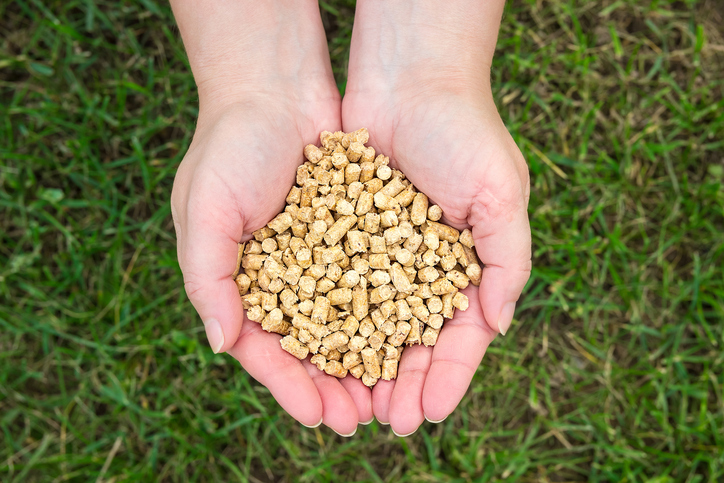
Consider your wood pellets as another ingredient in your dish. Here’s why: smoke adds something special to the flavor profile. In chef talk, smoke fits into a flavor category called ‘umami’—which describes meaty, savory flavors. Read more about flavors, and how they fit into barbecue menu planning, here.
At Griller’s Gold, we’re proud to use only one ingredient in our wood pellets: 100% natural wood. That means the smoke flavor you get is 100% natural, too. There’s nothing like it. But there are delicious differences in the strength of smoky flavor you get from different wood types, which is why we make five different blends. Read about some of the woods we use here.
And know that good food and good company are all the ingredients you need for a good time.
BACK TO BLOG
by Grillers Gold | BBQ
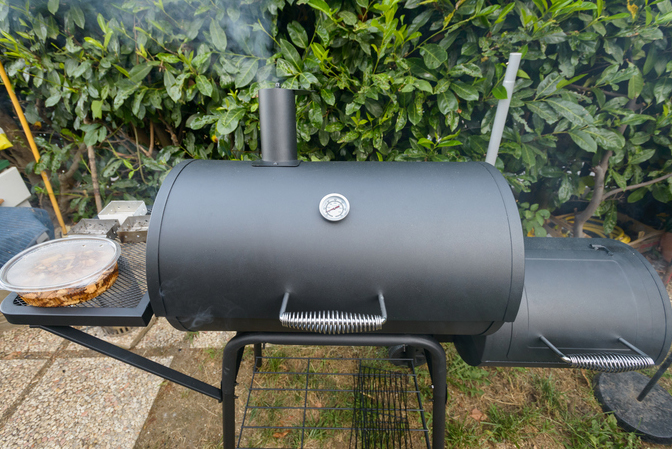
So it’s spring, and time to give your grill/smoker a serious cleaning to start the outdoor cooking season right. Cleaning your grill makes for better flavors. No, that build-up of smoke and soot really does not add anything tasty to your food. The experts agree: you’d never let your indoor oven get encrusted with scorched, flammable soot, so why would you think that’s a good idea for your grill?
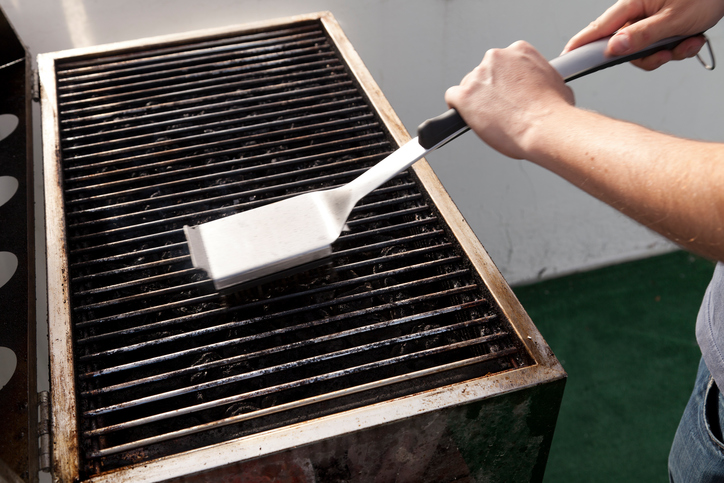
Here’s the gear you’ll need for best practices in grill spring cleaning:
- a large plastic tub
- hot water and dish soap
- foil
- a paint stirring stick/long-handled wood spoon
- a scrubby
- a shop-vac
- and stainless steel polish
- (Adult beverages and a good playlist also help)
Grill expert Steve Reichlen reminds us that it’s “very important to keep the inside of your pellet grill/smoker dry. Not only are the electronics sensitive to moisture, but the pellets will disintegrate if they get wet, potentially turning to wood ‘cement’ in the augur, jamming it.” So take care as you clean, and give your freshly cleaned grill plenty of time to dry before firing it up.
Here are more of Reichlen’s tips.
- Make sure the grill is cold.
- Place the grill rack and the chimney dome in the hot soapy water.
- Remove foil from the drip pan and flame reflector and brush off debris; put these parts in the tub only if they’re still very dirty after brushing.
- Remove solids from the grease bucket and place in the tub.
- Scrub all parts, then air-dry completely.
- Use the paint stirring stick to clear the grease chute.
- Use rubber bands to secure the scrubby to the end of the spoon, brush handle or stirring stick and wipe the (often surprisingly disgusting) inside of the chimney.
- Give the inside of the lid a good scrape with the brush.
- Vacuum the grill interior and the firepot, being sure to clear the holes in the firepot.
- Wipe the interior with a scrubby dampened with water or a natural cleaning product.
- Carefully wipe the temperature probe.
- Give any stainless steel parts a wipe with stainless steel cleaner.
- Replace the grease bucket; line it with foil for future easy maintenance.
Every time you grill
Keep things easy and flavors clean by maintaining your pellet smoker all year. All you’ll need: your brass wire brush, a damp rag, and heavy-duty aluminum foil.
- Run on high for ten minutes, then brush the grates.
- Switch off and cool the smoker according to your grill’s instruction manual.
- Carefully remove the grease bucket and put it out of the reach of animals.
- Wipe any drips off the grill exterior with a damp rag.
- Allow to cool overnight and replace the foil on the drip pan.
For people with gas and charcoal grills
The same general principles apply to cleaning all grills, even when the working parts are somewhat different. Use the right tools (copper wire brushes are key), mild but effective cleaning solutions (dish soap in hot water), and safety precautions (like cleaning at the right temperature).
BACK TO BLOG
by Grillers Gold | BBQ, Flavor
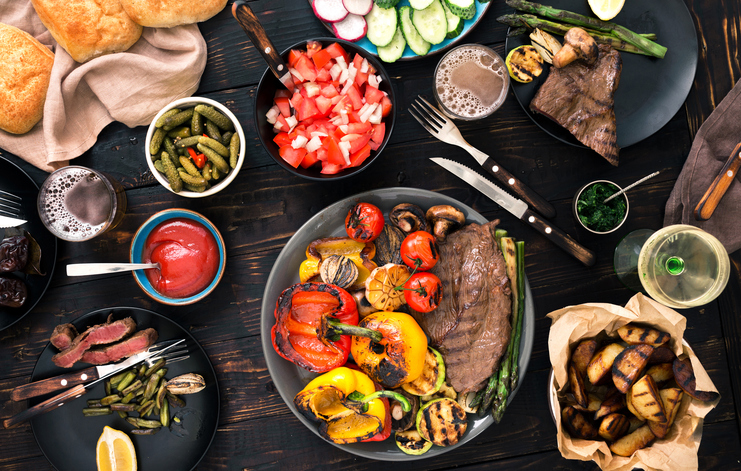
If everything in your menu is the same flavor profile, the same texture, and the same temperature, it’s not exactly a menu. It’s more like meal-in-a-pot. We don’t object to one-dish suppers, but they’re not as exciting as menus with multiple dishes that celebrate different facets of food. If you’re not following a menu straight out of a cookbook or magazine, but creating something of your own, you need to have a plan. Here’s a great one: mix or match. In other words, contrast or complement things about the dishes you’re serving.
You can choose to either contrast or complement your menu items based on taste, texture, or temperature. The most interesting and involved possibilities come into play with taste, so we’ll begin there.
The basics of taste

Your tongue only tastes four flavors:
- Sweetness
- Salt
- Bitterness
- Acidity
There’s also a fifth flavor, known by the Japanese term Umami, a sort of savory mushroom-y meatiness that is perceived more throughout the mouth. Smoke is an umami flavor.
When professional chefs are creating dishes or menus, they will do a complex balancing act, looking at the interaction of all the four flavors within one recipe, and then again in the combination of items they serve together. For everyday people and their menus, it’s easiest to pick out one main flavor from your main dish and base your planning on either contrasting with that flavor or complementing it.
Let’s look at some examples of complementary or contrasting tastes on your menu.
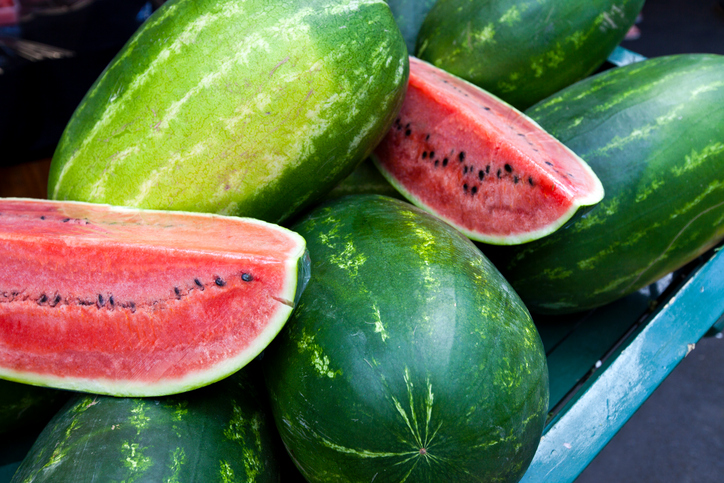
If your protein is a black-pepper encrusted strip steak, it’s bitter (like all other dishes dominated by spicy hot peppery flavors). So you could either contrast with a salad with plenty of sweetness from watermelon or other fruit, or complement with a side of kale, dandelion, chard or other greens.
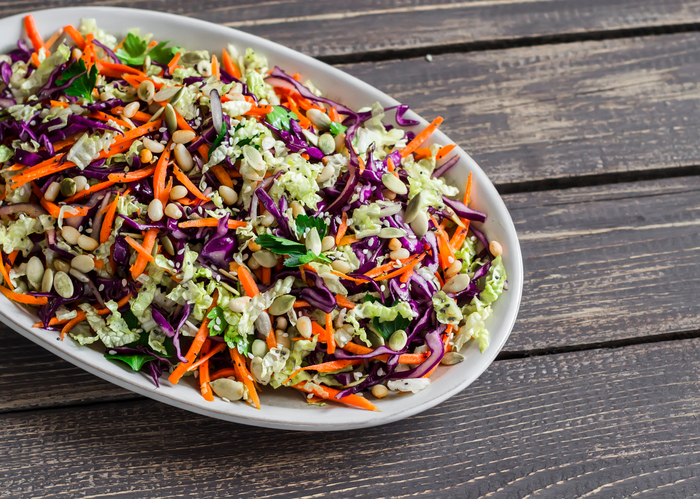
If your main dish is a slab of barbecued ribs in a sauce that’s dominated by vinegar, put it in the acid category. Then contrast with a salty mac and cheese (also rich in umami earthiness). Or, serve with a complementary, bright vinaigrette-dressed (and marinated) California cole slaw.
So next time you’re putting together a menu, have fun. Mix it up. Or play matchmaker. Either way, you and the people who are dining at your table are winners.
A brief discussion of texture and temperature
When it comes to texture, you can play. If you keep textures complementary, you might want everything on your menu to have tender and soft qualities. Think filet mignon with smooth mashed potatoes on the side. For contrasting texture, just go back to the example of gooey ribs and crunchy slaw (above).
Finally, you can satisfy and stimulate the palates of everyone at your table by paying attention to temperature. Contrast can be delicious: put jerk pork chops hot off the grill next to a simple salad of fresh tomatoes.
BACK TO BLOG
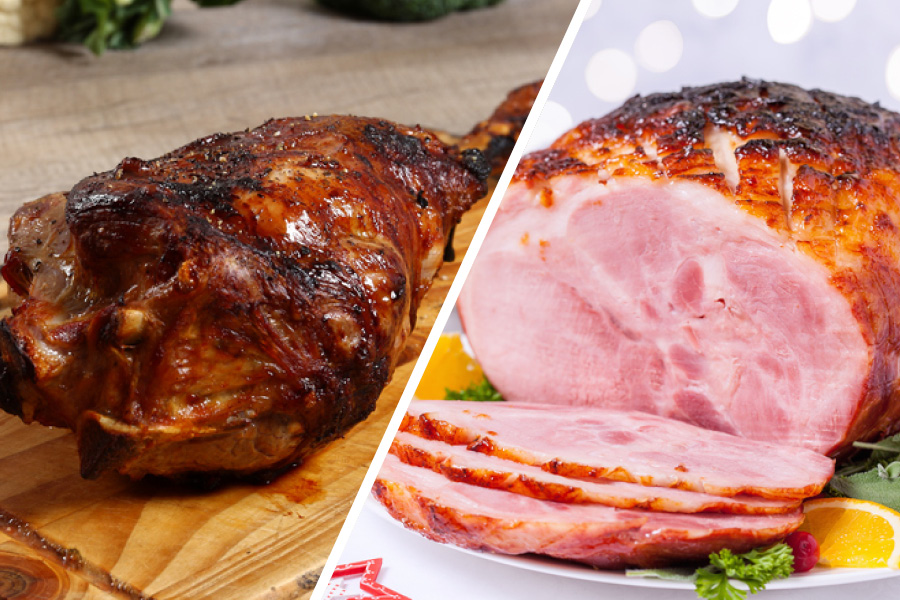
by Grillers Gold | BBQ, Grilling, Holiday
Lamb or ham? That is the question.
Does your family put a leg of lamb at the center of the Easter table every spring?
Keep up the tradition but update it, too, by grilling your leg of lamb.
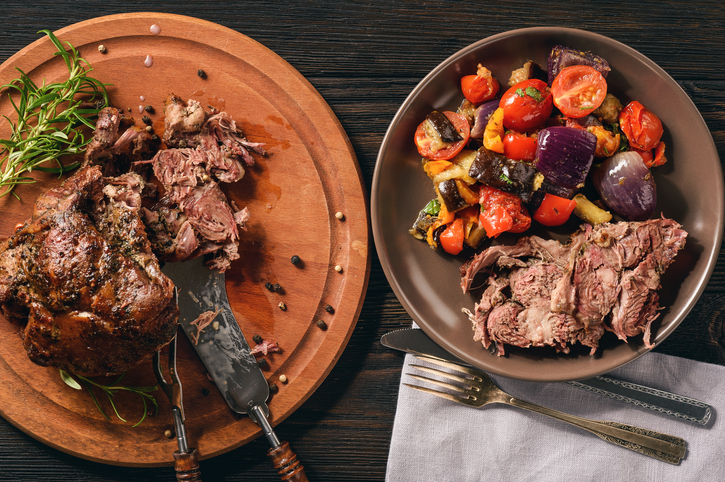
Methods of cooking lamb
- Many top chefs strongly encourage boning the leg before grilling. Butterflying is the most common suggestion. Leave it to your butcher to carefully separate the meat from the bone while keeping the main pieces connected. Then the meat is spread out in one piece, like a butterfly opens its wings. Try this recipe here.
- Instead of butterflying a boned leg of lamb and cooking it whole, slightly more ambitious home cooks carefully cut along the four natural muscle separations, which are visible, and pull the four pieces apart. Grilling the lamb this way contributes to the most delicious crust, makes it easier to determine the doneness of pieces of different thickness, and simplifies carving. Try this recipe here.
- For a simpler approach, grill the leg bone-in. Because this cut is so thick, it requires slow cooking over indirect heat – perfect for the wood pellet grill. Try this recipe here.
If your family typically cooks ham for the holiday, this year, try smoking one for yourself.
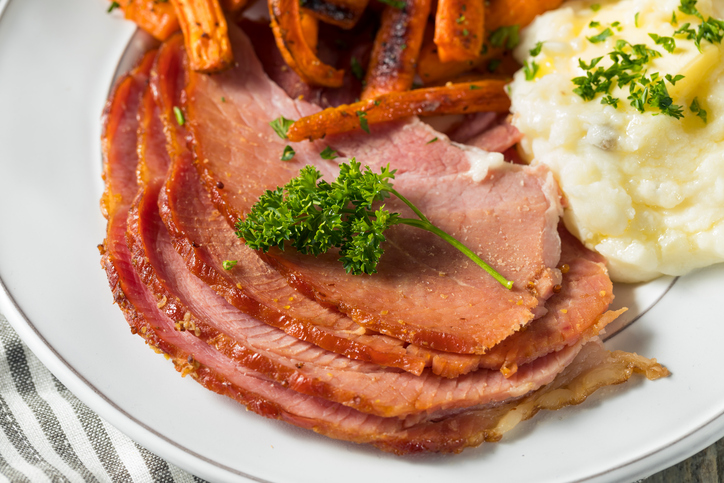
Learn how at HowToBBQRight.com Here’s what these savvy smokers say:
“You can indeed smoke a ham from scratch. It’s a pretty interesting process, involving brining for 12 to 14 days, among other things. If you want to save the time but want to add your own delicious smoked flavor in your own backyard, start with a pre-cooked ham.”
The site’s Malcolm Reed offers this great recipe (also shown here in video) to get the juices flowing. Malcolm combines a pre-cooked ham, a homemade sweet glaze, and an expedited smoking technique. Yum.
Malcolm adds this tip:
“Since we’re essentially “double-smoking” the ham, you should stay away from using stronger woods like Hickory or Oak. These will easily overpower the natural flavor of the ham. Place the ham on the smoker and check it every hour. If the outside starts to look a little dry, use some of the glaze for basting.”
The entire cooking time should take about 2 ½ – 3 hours.
Whether you choose lamb or ham, enjoy a great grilled holiday.
BACK TO BLOG


