It seems that nothing strikes more fear into the hearts and minds of dedicated grillers and barbecuers like the awesome Tomahawk steak!
There’s something about its massive size, its formidable expense and its sheer amazingness that scares off a lot of folks from wanting to tackle making one or more of these. To that we say, FEAR NOT THE TOMAHAWK!
Read on and then prepare to conquer this incredible meaty achievement.
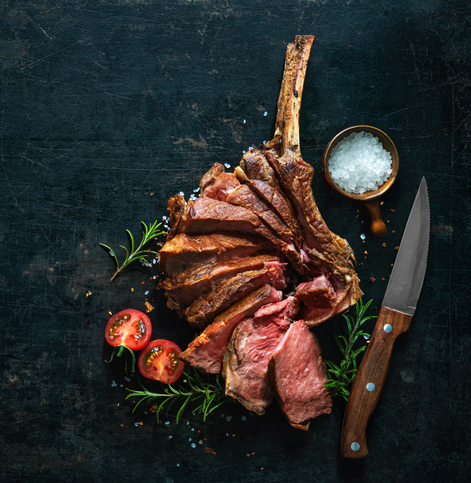
(Photo by Stew Campbell)
What is a Tomahawk Steak?
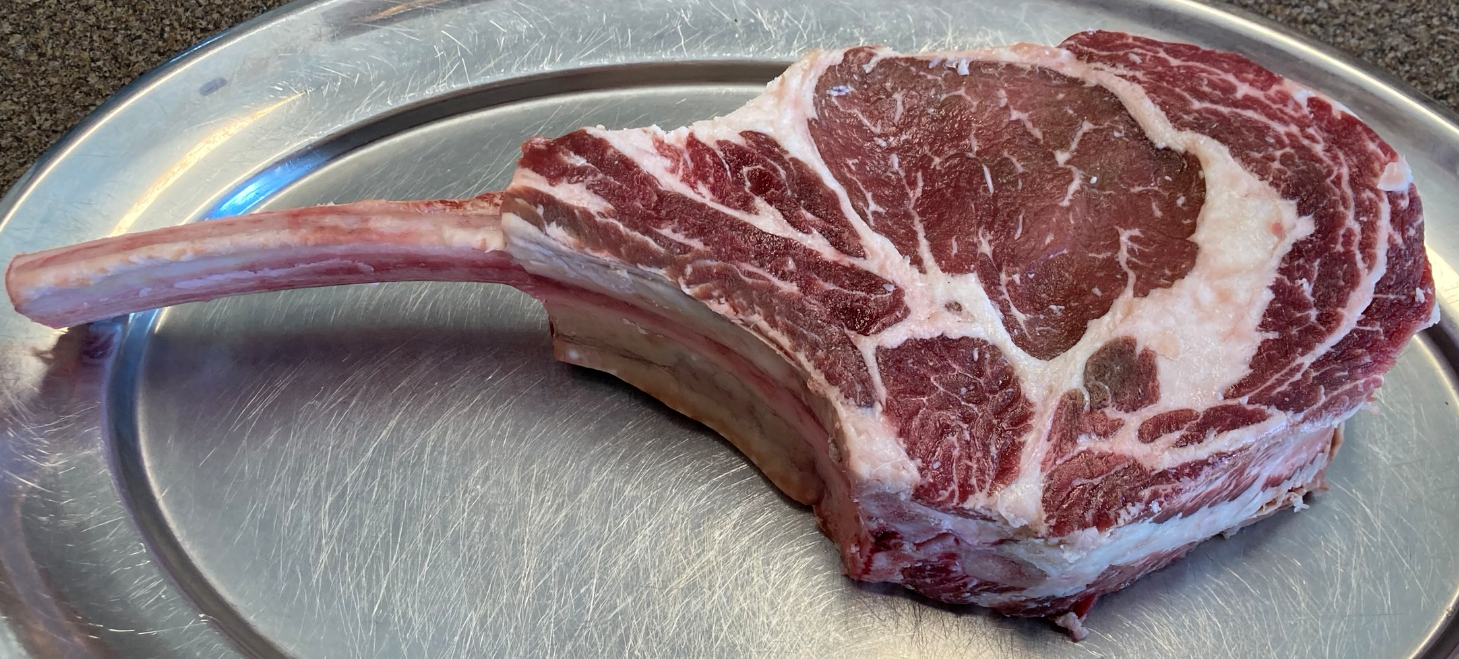
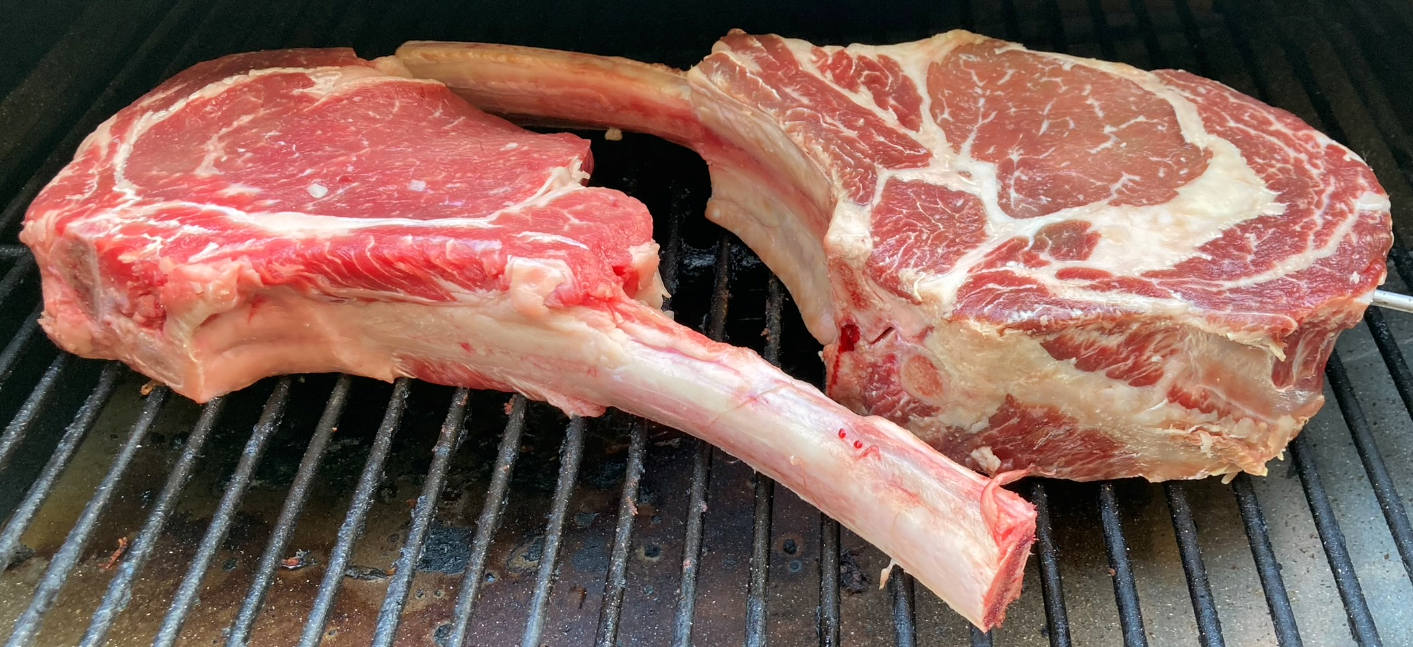
So, let’s start with the groundwork – in case you’re not fully familiar, a Tomahawk steak is basically a one-bone ribeye roast instead of having the bone cut flush with the end of the meat, a length of bone is left on and is “Frenched” – which is the technique of cutting away any remaining flesh to expose the bone.
They are typically between 2 and 3 inches in thickness and typically weigh about 3-4 pounds, of which about 2 pounds is edible meat. This makes it look like the Native American weapon, the Tomahawk. It also looks like something Fred Flintstone would eat!
Buying Tomahawk Steaks
The great news is, with as popular as they have become, the prices have come down somewhat as they have become much more available. In fact, the Tomahawks featured in the pictures here … came from Walmart!
They are also available at Sam’s Club, Costco and often in grocery stores. That said, we are also very partial to local butchers and you can get some incredibly tender and delicious Tomahawks from a good local butcher. These Walmart steaks were on special at only $9.99/lb so each one was about $35. We’ve paid as much as $75 or more for these which does put the “scary” factor into making them.
Taming the Tomahawk comes down to one simple technique – the Reverse Sear, and fortunately, using a pellet grill fueled with Griller’s Gold Premium Hardwood pellets makes this SUPER easy.
To give a quick review (and for an in-depth look at that technique, have a look at this post from our blog), the “Reverse Sear”. This is where you cook the meat at a relatively low temperature until it is just short of the right doneness temperature. Then you give the meat a rest of 20-30 minutes while you preheat your grill to a very hot temperature. You then put it on and sear it for a few minutes to put that tasty crust on it.
The result is amazing edge-to-edge perfect doneness.
Let’s break it down and then at the end, we’ll share some favorite side dish ideas to enjoy with this gorgeous hunk of meat!
The Tomahawk Grill Setup
Fire up your pellet grill with your favorite Griller’s Gold pellet – we like Competition Blend or Smokeshack Blend for beef, but you do you! Set the temp to deliver 225F (know your grill and its variability!) and let it preheat for at least 20 minutes. Also find your temp probe if you have one and have it ready to use.
Tomahawk Meat Prep
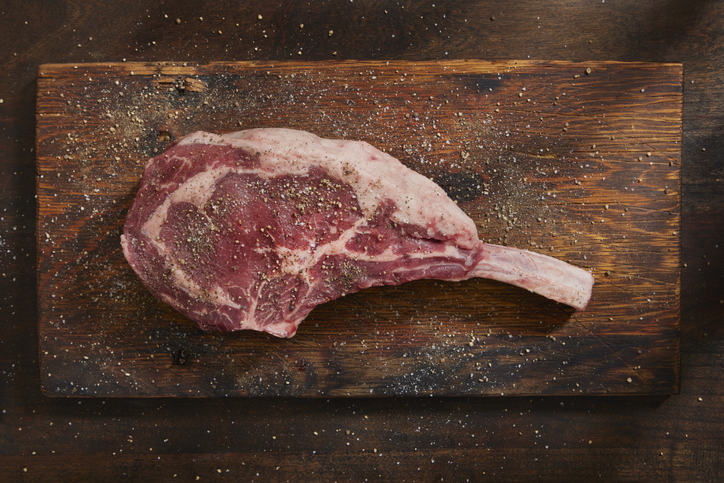
It sounds crazy, but our “rub” for this is just a generous sprinkle of kosher or sea salt over all of it – both sides and the edges, and we apply that about 4-6 hours in advance and let the meat sit in the fridge uncovered.
This technique is called “dry brining.” This helps the salt absorb into the outside of the meat and dries the meat a bit which allows the smoke of the grill to flavor it more.
If you like, a nice hit of pepper with the salt is also good, as is Montreal steak seasoning. Our favorite other than just salt is Meathead Goldwyn’s “Mrs. O’Leary’s Cow Crust.” This is a salt-free rub you can make at home with pantry stuff, so you can also dry brine it without the worry of it getting too salty.
Temperature Management
Cooking to the right doneness temperature is really critical for this to be successful. If your grill has a thermometer probe, use it but be sure to know its variability (for example on one of our pellet grills the probe reads 10 degrees low).
A great way to make sure you’re putting the probe in the right place and depth is to line it up outside of the meat, then put your fingers on the probe right where it needs to stop and insert it. Check the photo here to see what we mean. If you don’t have a probe, have an instant-reading thermometer handy to check it when you turn the meat over..
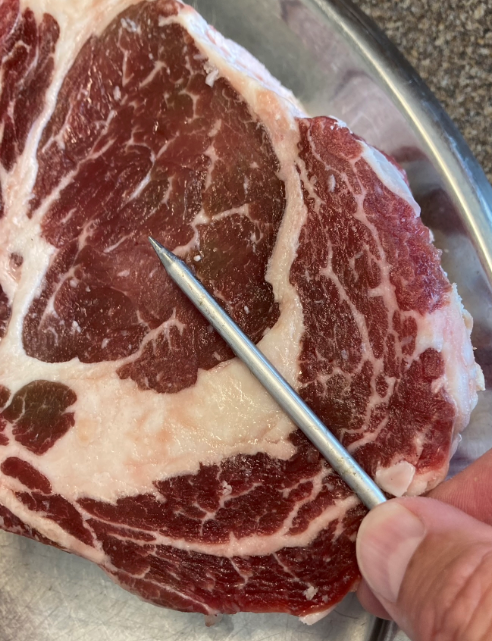
(photo by Stew Campbell)
Grill it!
Ok, you’ve got it (or them …) salted/seasoned, got a probe in one (if doing two, probe the thinnest one as it will get done quicker), you’re all set to go. Place the meat in the center of the grill grate (or if doing two or more, down the center the long way) and close the lid!
Set a timer for 45 minutes and go away (this assumes your tomahawks are at least 2” thick) and don’t open the grill to peek. After 45 mins, turn the meat over and using an instant-reading thermometer, “confidence check” your probe temp readout.
Keep turning every 15 minutes until you’re about 10 degrees below the perfect doneness temp.
(Photo by Stew Campbell)
Know Your Done Temperature
As a review:
- Blue Rare: under 120F
- Rare: 125F (remove at 115F)
- Medium Rare: 135F (remove at 125F)
- Medium: 145F (remove at 130F)
We’re really not joking here. Generally speaking don’t cook big beef like this to anything more than Medium, because the results really suffer. If you have someone in your dining group that wants medium well to well done beef, you’re better off grilling them their own steak.
When it hits the “remove at” temp, pull it off, put it on a platter (and if two of them, stack them to “cuddle” the heat in them), cover with heavy duty foil then lay a folded heavy towel over them. All of that helps them retain heat and for the carryover cooking to do its magic.
Rest for at least 30 minutes. While your meat is resting, either fire your pellet grill to its max, or preheat a gas grill to all burners on high or even light a hot charcoal fire. We like searing on the gas grill since the flavor is already in the meat and it’s easy to manage.
Sear the Tomahawk
Unwrap the steaks, retaining the accumulated juice in your pan, and put them on the grill. Do NOT go away from the grill – you can go from “sear” to conflagration in seconds. We like to do our searing on our gas grill. We set the burners of our 3-burner gas grill on high to preheat and when ready to cook; we shut off the middle one to limit the chances of a flare up.
Ribeye’s have a LOT of fat on them and that fat can light off in seconds and ruin your steak. If your grill suddenly starts to smoke a lot, get that hood open and move the steaks away from the flareup. We keep a little squirt bottle of water handy to kill those flames.
Turn the steaks about every 2 minutes until they have a nice even brown crust on them and beautiful grill marks. It usually takes 2 turns on each side – about 8 minutes total.

(photo by Stew Campbell)
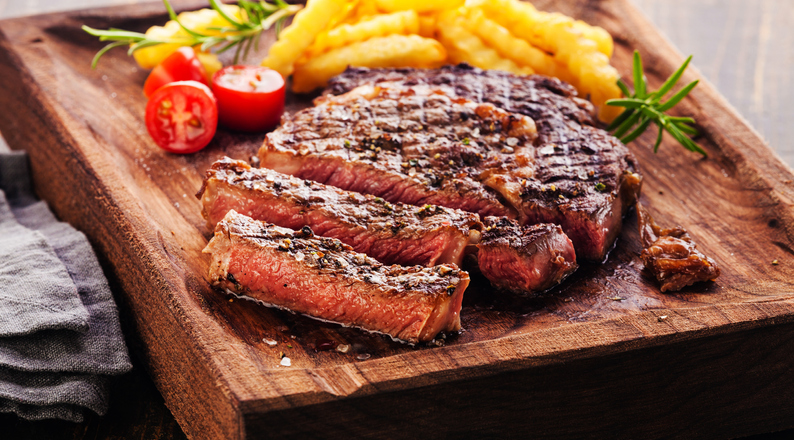
Move them back on your platter and then immediately carve the meat from the bone. Slice in ¼ thick slices across the grain, trimming out any big fat areas. Because the meat was already rested, you can slice and serve immediately hot off the grill. Top on a serving platter with accumulated juices and serve! It’s amazing!
The Tomahawk Meal
So, make a meal out of it! Our recent Tomahawk meal, shared with a few friends on the patio included:
- Two 3 ½ lb Tomahawks
- Potato Galette (recipe by Southern Living Magazine)
- Fresh corn on the cob – we like to prepare ours by simply loosening the husks and pouring about a tablespoon of water into the husks, then close them and grill them on a hot grill (great thing to do while the steaks rest) about 15-20 minutes until the outer husks are charred a bit
- Creamed Spinach (recipe from The Berghoff Restaurant, Chicago IL)
- Sauteed mushrooms (sliced mushrooms sauteed in butter with salt, pepper and thyme for seasoning)
- A wonderful Cabernet Sauvignon
- And for dessert – a trip to a local soft serve ice cream stand!
The Tomahawk steak is the ultimate “sharing” steak – and crowd pleaser! Make this recipe and show the Tomahawk that you’re the grill boss!
Until next time!