In our minds, there’s nothing more American than a good ‘ol hamburger. And yet no other food item is subject to more variation than the good ‘ol hamburger.
From fast food “discs”, some of which are good, to a fantastic, big ‘ol greasy burger at your favorite pub (best served with an ice cold beer), and of course, home grilled burgers, we don’t think there’s any food item that is more subject to individual interpretation than the hamburger.
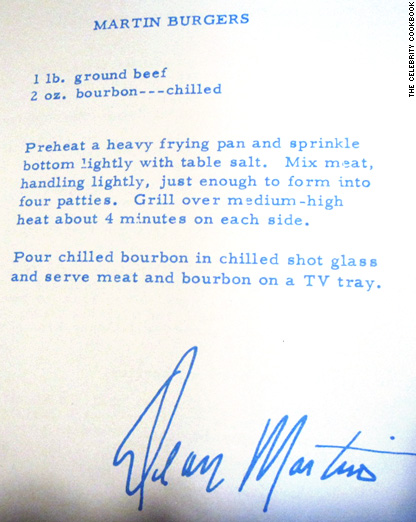
Celebrity chefs of course put their own stamp on them – every chef from Bobby Flay to Julia Child has made their burger recipes their own way. Gordon Ramsey even has his own chain of burger restaurants, called Burger, of course. Dean Martin even famously published his personal burger recipe back in the 1970s!
So this all said, OF COURSE the Griller’s Gold blog crew has a couple of great burger recipes up our sleeves. And they are of course fueled by the wonderful, all-hardwood Griller’s Gold premium pellets!
We do have to admit to taking some technique hints from the celeb chefs, especially Gordon Ramsey and also Nigella Lawson, but like everything, your personal style is always the sum of your influences.
So this all said, here’s what we do:
Choosing The Meat
It all starts with ground beef, and we good ol’ simple, ground chuck, 80/20% lean to fat ratio. That said, if you have the time and the equipment (and the equipment is a proper meat grinder), grinding your own fresh hamburger gives absolutely sublime results. But good ‘ol supermarket 80/20 ground chuck is the go to here.
Mix-ins: NO!!
A lot of folks mix a lot of stuff into their burgers. Not us. We don’t add sauces, seasonings, binders, etc. to the beef. Good quality 80/20 chuck doesn’t need it.
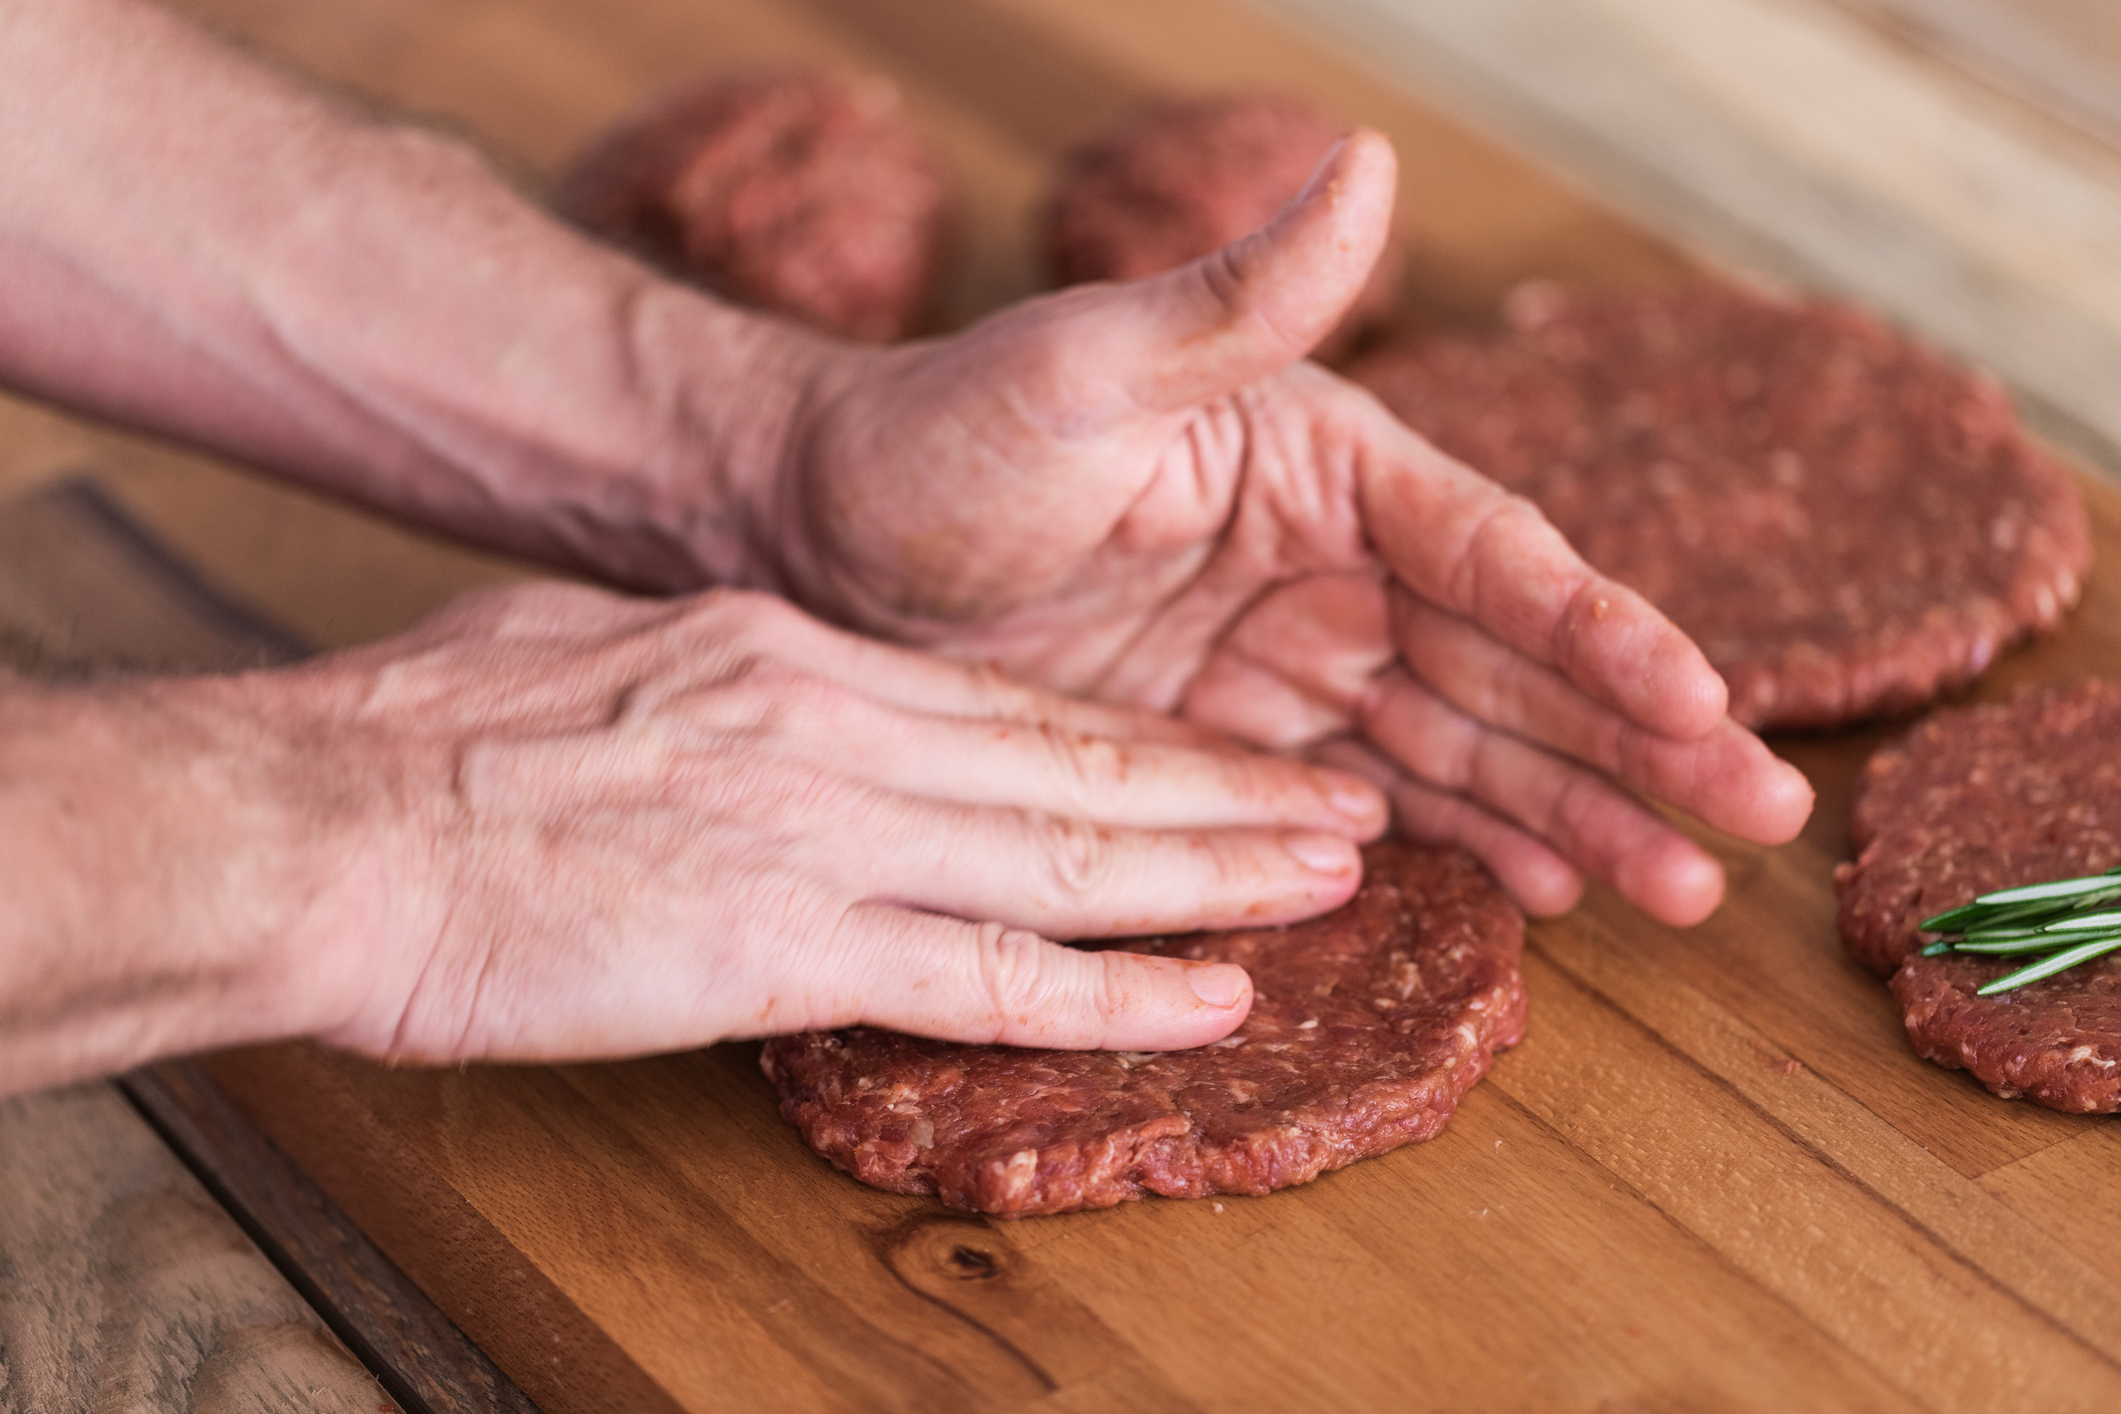
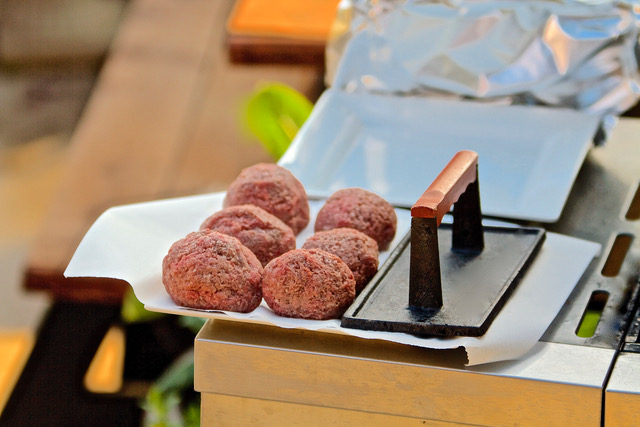
Forming and Pattying:
A great “rule of thumb” size for burgers is a 5.25 oz pre-cooked weight burger. It’s thick/massive enough to still cook nicely and allow you to leave it to your desired temperature. The technique here is to portion the meat out in pre-weighed balls, then wearing nitrile gloves (this helps keep the heat of your hands from melting the fat of the meat), flatten the balls down to half-inch thick patties. Finally after the patty has been placed on the platter to go to the grill, use your thumb to create an indentation in the center of the patty. This helps keep the burgers at an even thickness as they cook up.
How to Season Your Burger
For burgers, simplicity wins the day: A generous sprinkle (and we mean generous – at least a 1/4 tsp of kosher salt per side) and a good grind of freshly ground pepper is all you need. If you want to be fancy, maybe a shake of garlic powder. Just do the one side that’s up right now, you’ll season the other side at the grill.
The Grill/Preheating
Fire up your pellet grill to as hot as it will go – 450F, 500F, give her all you’ve got. Those Griller’s Gold natural hardwood pellets will deliver the heat!
We like to preheat the grill on this hottest setting for at least 15 minutes – you want all that metal to get good and hot. Your grill may say that its pre-heat cycle is complete, but letting it go longer ALWAYS helps. This is where it’s important to know your gear and how long it takes to heat up – but 450-500 degrees seems to be the magic number to hit.
Another great thing to use for this on your pellet grill is some sort of heat collecting/concentrating device – our two favorites are either a cast iron skillet or a set of GrillGrates. Grill Grates are “aftermarket” sets of extruded aluminum grates that magically collect and amplify grill heat. Put them on your 500 degree grill and their surfaces somehow wind up at 650F or better. I don’t know how it works, but it’s magic for searing.
Give them a try!
Grilling techniques for the perfect Burger
We have a couple of techniques here for you – give them both a try and see what works for you!
The Grill:
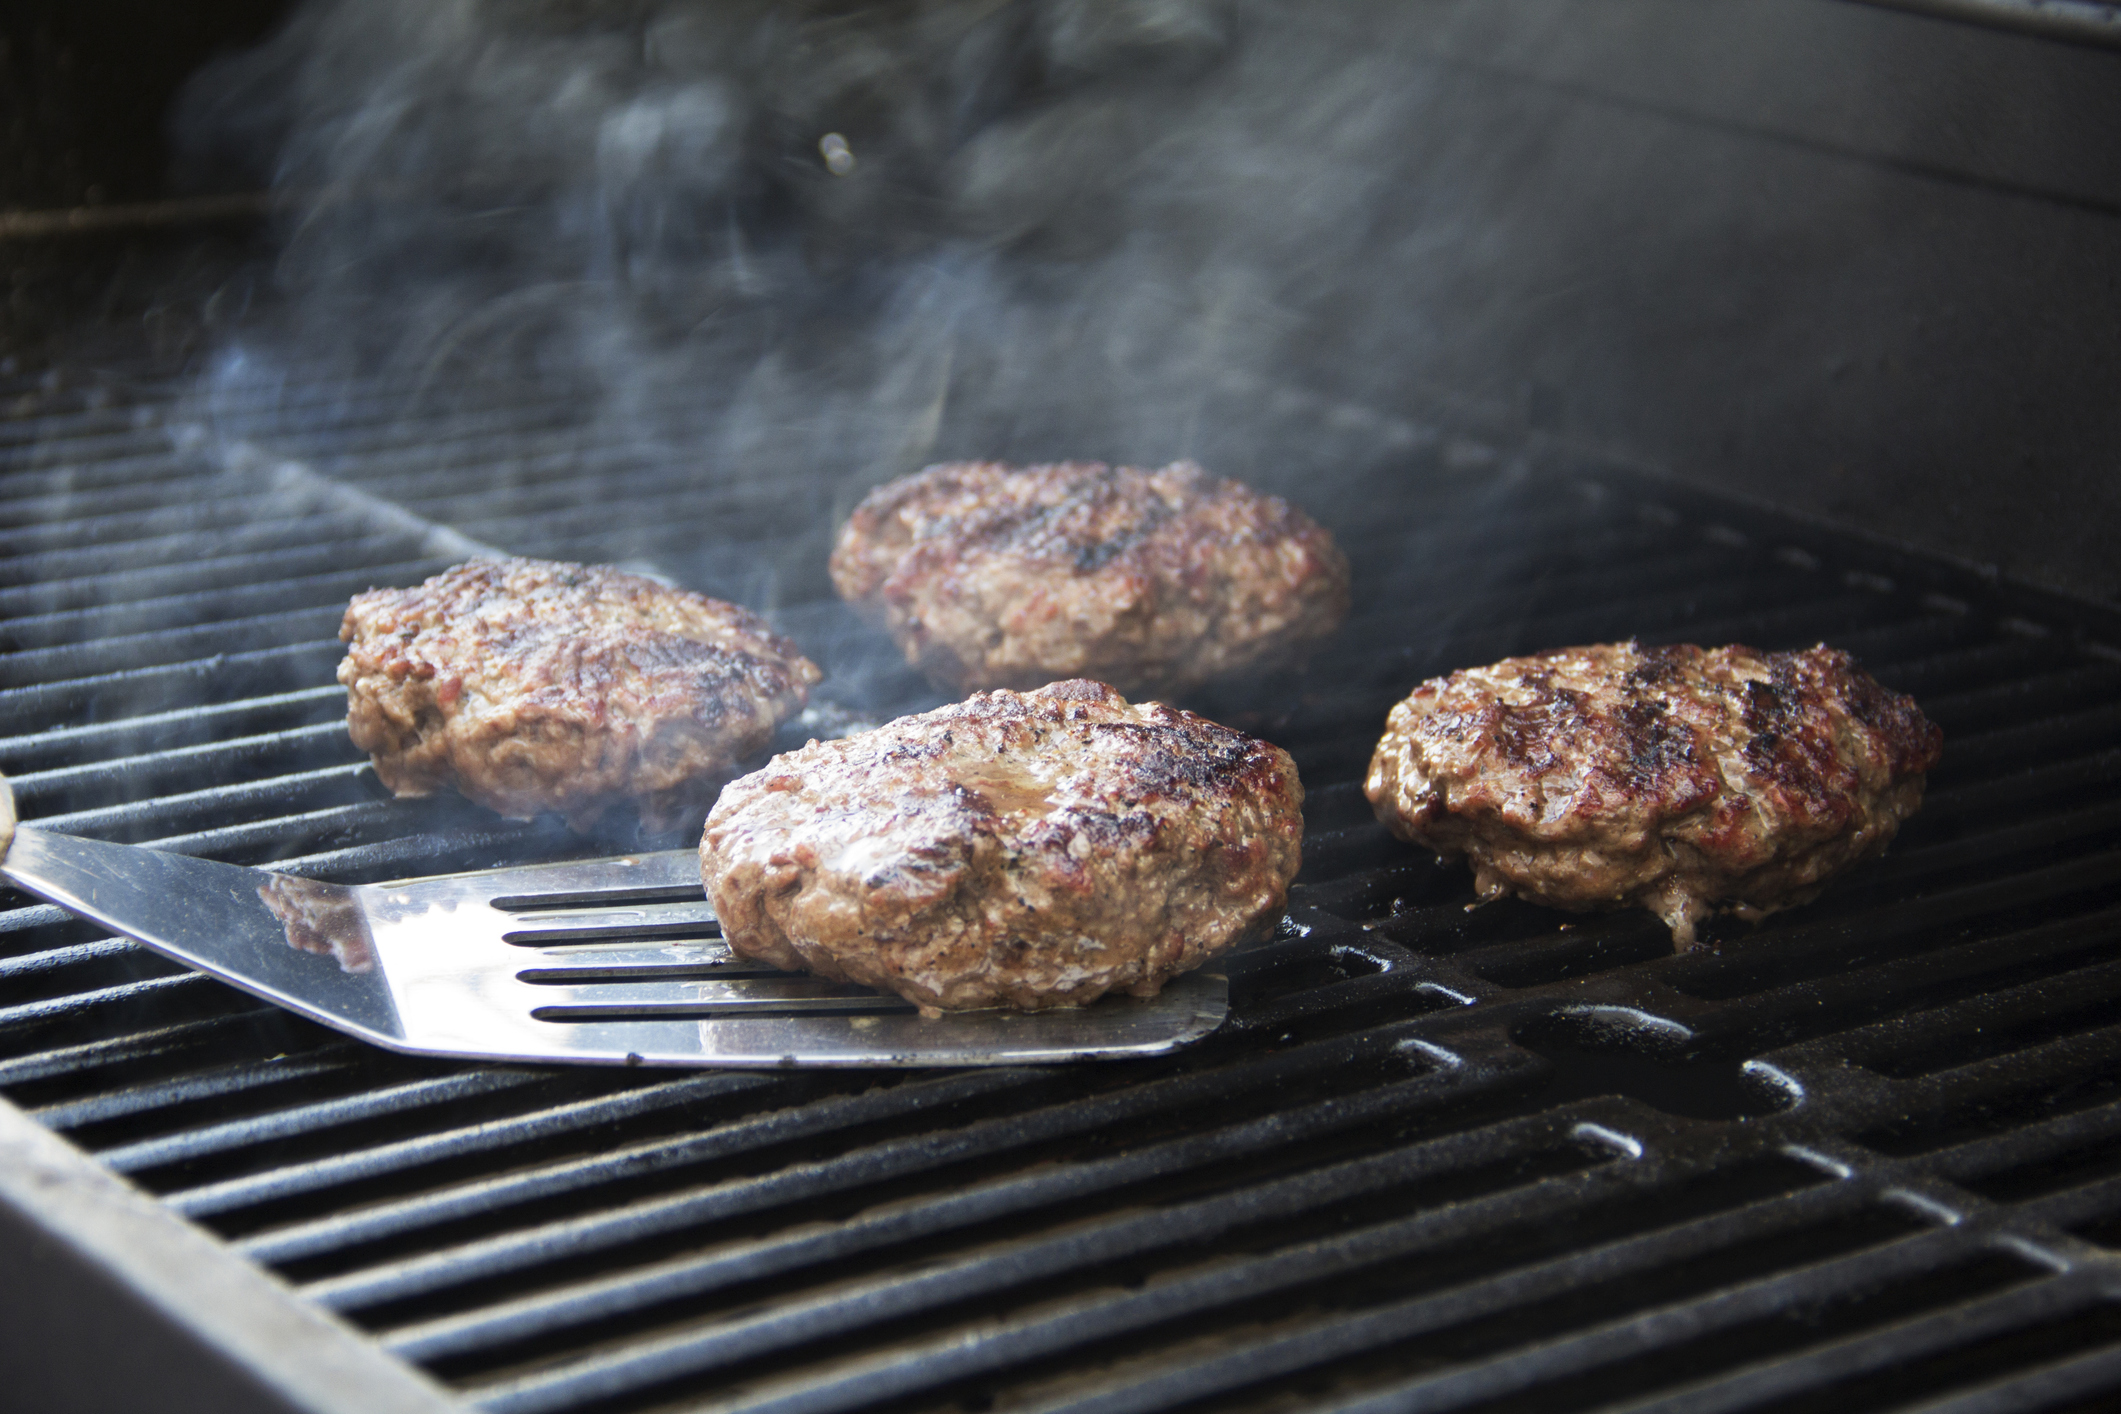
If we are just simply grilling on the grill grates (or GrillGrates), then we put the patties indentation side up on the grill and immediately close the lid and set a timer for 4 minutes.
At 4 minutes, open the lid, flip them over, season that side with just salt, and close the lid. This time the timer gets 3 minutes. At the end of the 3 minutes, open the lid, put on the cheese, close the lid and go for 30 more seconds.
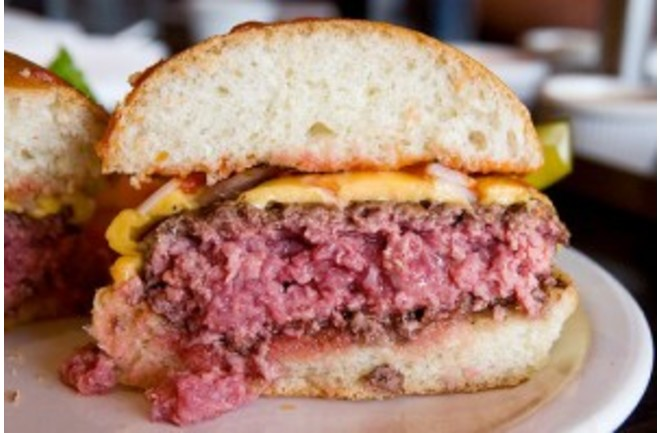
Then off onto the platter and ready to serve. This yields a perfect, medium rare burger for me – pink and juicy in the center. Amazing.
If you like medium (dryer and grayer in the center), extend the side 1 and 2 intervals by a minute and the cheese interval by 30 seconds.
The Flattop or Cast Iron Skillet Method:
We like using a couple of flattop grilling things – a cast iron griddle and a stainless flattop. Both of these are great to do a burger on.
Same methods as above apply, including timings – just put the flat top item or cast iron skillet on the grill when you preheat, and again, use your highest heat setting.
The Smashburger:
Now if you’re at all like us, you probably love some smashburgers. These are burgers that have been pressed flat on a flattop grill so they get crispy edges. Here’s some quick bullet points on doing smashburgers:
- Use a cast iron skillet or other flattop as a grill topper. Put it on your grill at the start of preheat and preheat to your hottest possible setting.
- Form your burger into 3 ½ ounce balls – you’ll want to make double cheeseburgers with these! Roll the balls in coarse kosher salt. Nothing better than a salty smashburger!
- Cooking: It’s the 1+1+1+1 method: Put the balls on your flattop and flatten slightly, close the lid and time for 1 minute. At the end of 1 minute, SMASH that burger with a big spatula backed up by a good weight (or invest in a cast iron burger or bacon press) – we like to use a big can of beans as our weight – one hand on the spatula the other pressing down on the can of beans. You want that burger flat, baby! It should expand to almost 6” and be about ¼” thick max at the center. Then give it 1 more minute and flip it.
- Make sure you scrape it up well off the flattop – don’t leave any of that great flavor on the metal! After the flip, time another minute, then put on the cheese, and time one more minute.
- Done – burger perfection in 4 minutes!
Buns/Bread/Add-ons/Condiments/etc.
Cheese:
Well our fave is American cheese – but not pre-wrapped “singles”. We buy it in the deli section of the grocery store and we get it cut slightly thicker. Blue cheese is fantastic, as are cheddar, gouda, gruyere, swiss and more.
Buns:
Our favorite buns are bakery-made brioche buns, although both the S. Rosen and Pepperidge Farm brands make amazing brioche buns.
Second place in the bun category would be a good sesame-seeded commercial bun. And of course dark rye bread is amazing too.
If doing buns we like to mix up some garlic butter – just add a couple of cloves of minced garlic to a half-stick of softened salted butter and mix well – then spread the buns with the butter. We like our buns or bread toasted, so I put them on the grill to toast during the pre-heat phase. They toast in like 30 seconds per side.
Toppings:
We are kind of purists for burgers, so we really don’t put much on them – maybe a little mustard and mayo on the bun, and then dip each bite in ketchup. Others on the GG team here love lettuce/tomato/raw onion burgers, and the team also loves sauteed/grilled onions on burgers as well.
In all of these instances, the fresher and cooler and crisper your add-ons, the better.
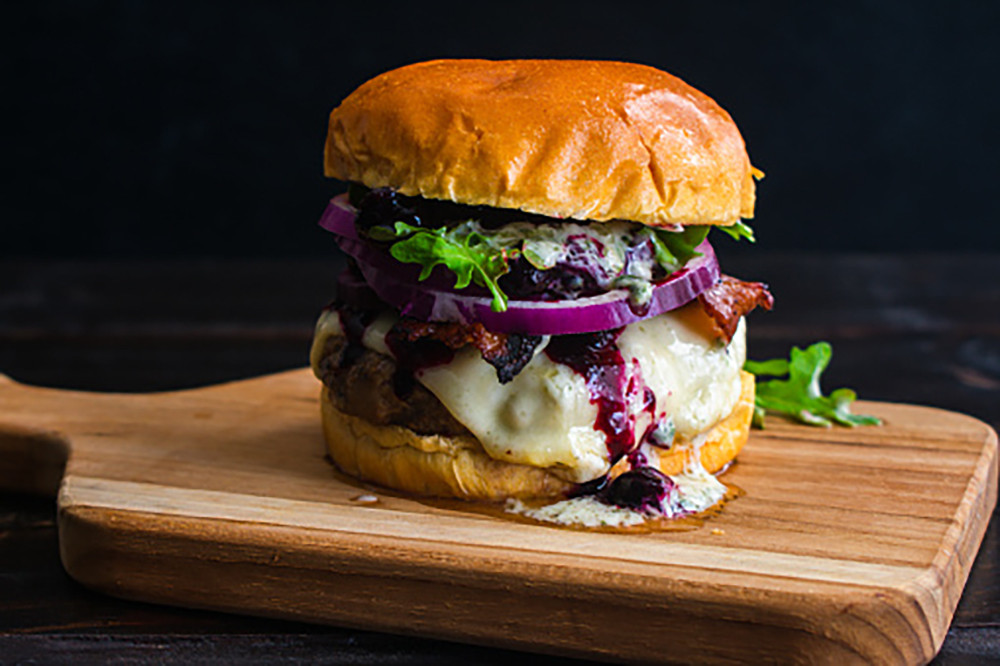
And that’s it! This is what burger heaven looks like for us:
Now go make yourself some tasty burgers!
Until next time!