Brisket. The holy grail of Barbecue. Loved by every BBQ fan to eat, feared by barbecuers everywhere.
Eat barbecue long enough and you’ll discover some absolutely sublime brisket from famous barbecue places. Rodney Scott’s in Charleston, SC, Franklin’s in Austin, TX, Smoque in Chicago IL, and Arthur Bryant’s in Kansas City, MO to name a few.
But here’s the thing – you CAN make this yourself and you CAN have sublime results. When you get good at it, it will be YOUR barbecue that your friends talk about, not about the barbecue joint down the road.
Making great brisket takes discipline, requires the investment of both time and quality ingredients, and, well, practice. Fortunately, even “that’s not the best you ever made” brisket made at home will still be 10x better than 95% of the “barbecue brisket” they sell in most restaurants.
So let’s cut the preamble here, and get going on the craft:
Buying your Brisket:
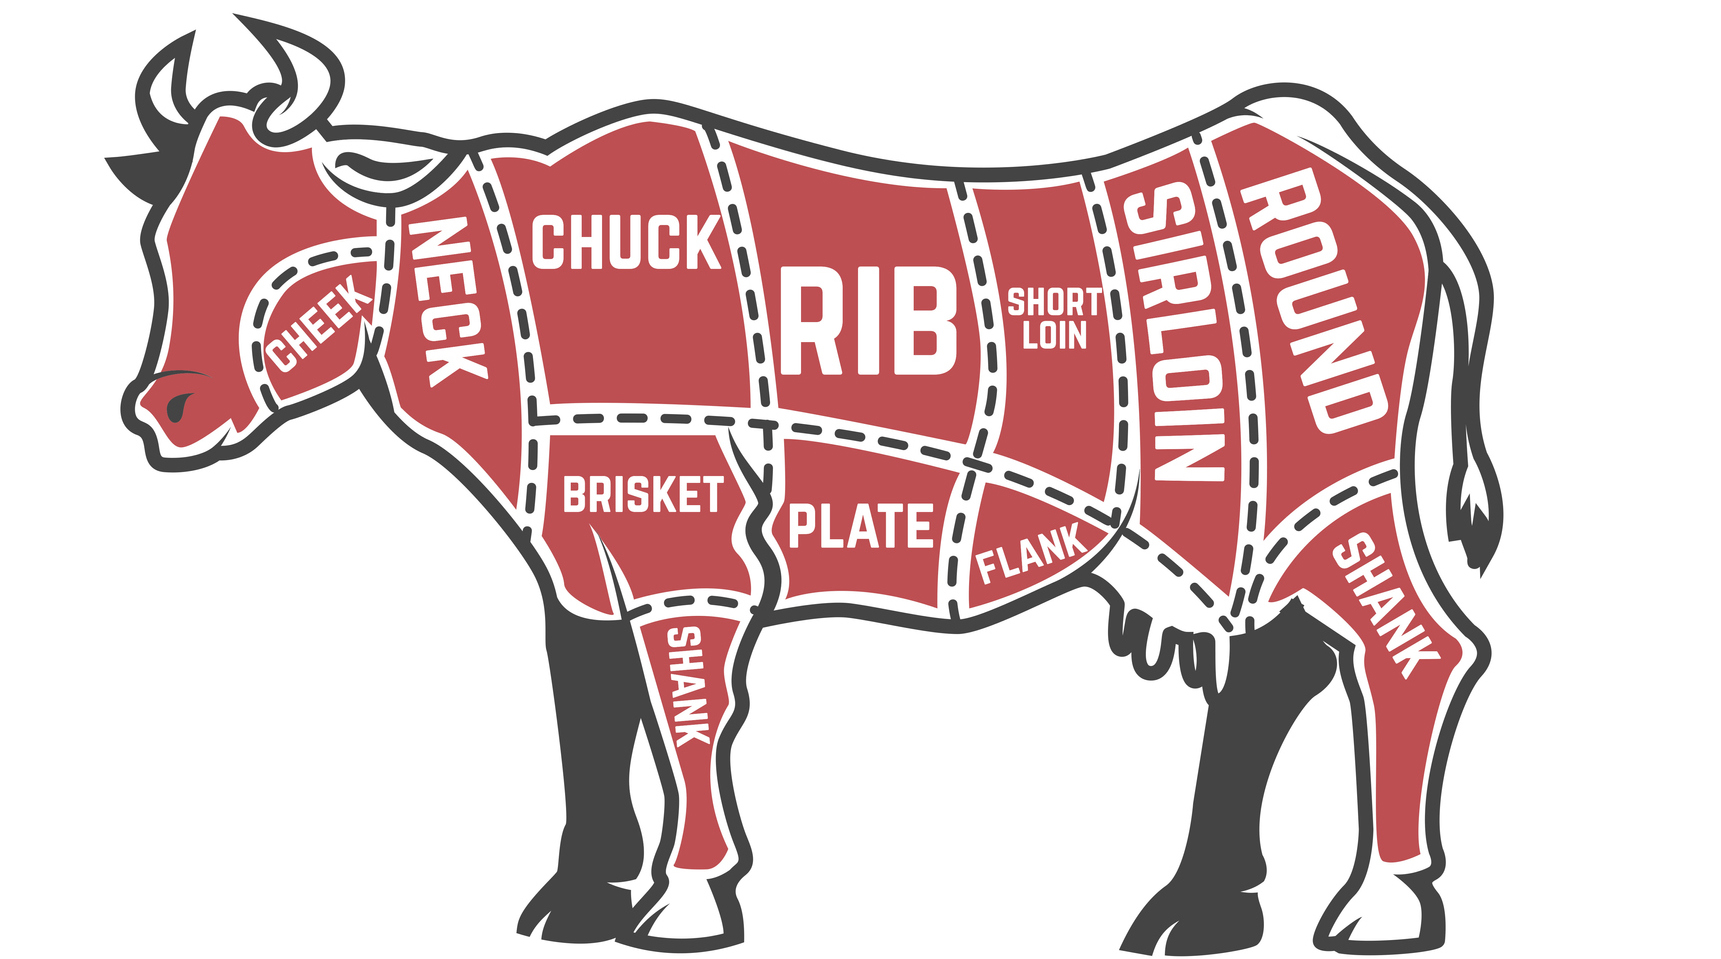
Brisket is considered to be a “primal” cut of meat. It is the upper chest muscles of a cow and as a “well used” muscle, it is thick-grained and tough until cooked long, low and slow.
When making brisket, the simple reality is, this meat is pretty expensive. And that’s one of the fear factors – spending $70-$150 on a big chunk of meat and then not having it come out sublime is pretty scary. That said, please don’t be tempted to cheap out. Buy the best you can afford.
It is easy to spend huge amounts of money on quality brisket. A great example of super-high-end brisket is from Snake River Farms and their American Wagyu brisket. Want to treat yourself and your crew sometime, here’s the LINK.
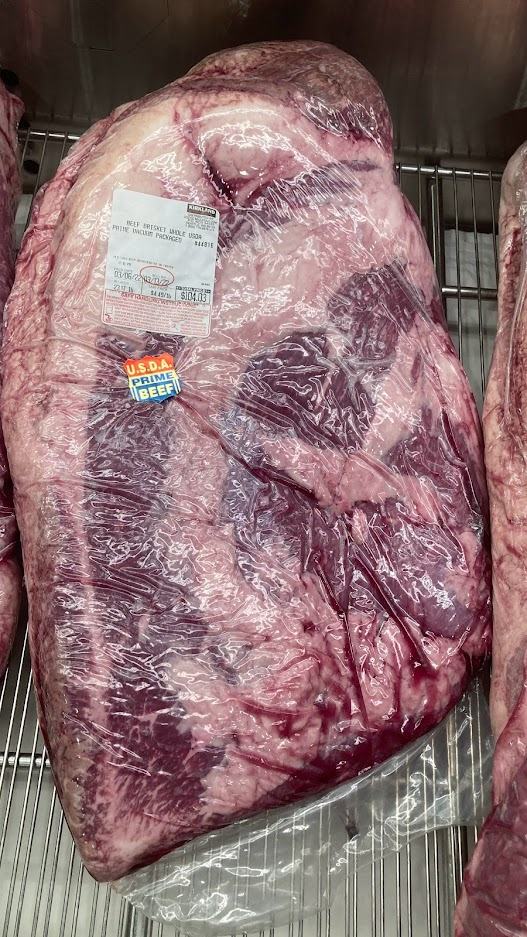
That said, we’ve had our best luck buying whole briskets (more on this below) at Costco in the USDA Prime grade. They will be more expensive than a USDA Choice grade brisket, but the extra cost is well delivered in your results.
The brisket on a cow is actually a pair of muscles stacked. One muscle is called the flat, or “first cut”, and the other is called the “point” or “second cut” or “deckle”. The flat is very lean, the point is very fatty.
Brisket Types:
Therefore, when buying briskets, they come in three ways:
- Whole or “Packer” brisket – THIS IS WHAT YOU WANT. This is the brisket as it comes off the cow. A good-sized whole brisket will run between 12 and 20 lbs and while that sounds huge, trust us, you’ll get the best results with this. AND you’ll feed a crowd or have lots of enjoyable leftovers.
- Flat or First Cut: While you CAN smoke these and make pretty good brisket because the overall thickness of this cut is only an inch and a half, your chances of making a dry brisket are pretty high.
- Point, Deckle, or Second Cut: These actually do smoke up very nicely because of the fat content but they tend to be pretty small – only 2-4 lbs.
The construction of a brisket is that the flat is the “bottom” muscle (assuming that the fat cap on top is “up”) and the point is on top of it with a ridge of hard white tallow fat between them. What is funny is that the “flat” is actually point-shaped, and the “point” is actually more rectangular. Go figure.
Anyway, the summary of all of the above:
Buy a whole-packer brisket, and if prime is in the budget, go for it!
Okay? That’s what you want. Got it? The photo below is what you’re looking for (although we admit, that’s a ridiculously large brisket. We usually shoot for 15-16 pound briskets.)
Whew!
So, assuming you’ve taken our advice and procured a proper whole-packer brisket, you’re going to need to do some butchery to get it ready to cook well. Read on.
Whole Brisket Butchery:
Trimming and preparing a brisket for good cooking is pretty straightforward. That said, it is a skill best taught visually. Fortunately, there are a ton of resources online that show you how to do it. We’ve watched a bunch and have selected this video as one that’s easy to follow and well, we agree with the techniques. https://www.youtube.com/watch?v=ONifvZMlrQk
Now that you’ve watched the video, here’s just a quick checklist of what we do when we trim our brisket:
- Trim the thin edges of the flat back to where the meat is at least an inch thick. Save the trimmings to make burgers!
- Cut out the large white wedge of fat between the flat and point on that one side.
- Trim back the fat cap, leaving about ¼”. Score it in 1” squares to allow it to render better and help your rub penetrate.
- Flip it over and trim off any/all silverskin – that stuff is tough!
- Clean it up by taking off any extra bits left over from the meat packer process.
- After you’re done trimming, spend a moment understanding the grain of the meat, and a great hint we learned recently (yes after 100+ briskets made, we’re still learning!) – locate the corner of the flat that the grain runs down to and cut that corner off perpendicular to the grain, (saving the piece for hamburgers). Then you have a visual cue to follow when your brisket is ready to carve at the end of smoking. It is very hard to see the grain after the smoking is done. In the photo below of an untrimmed 16 lb packer brisket, you’d clip off the corner on the upper left of this photo.
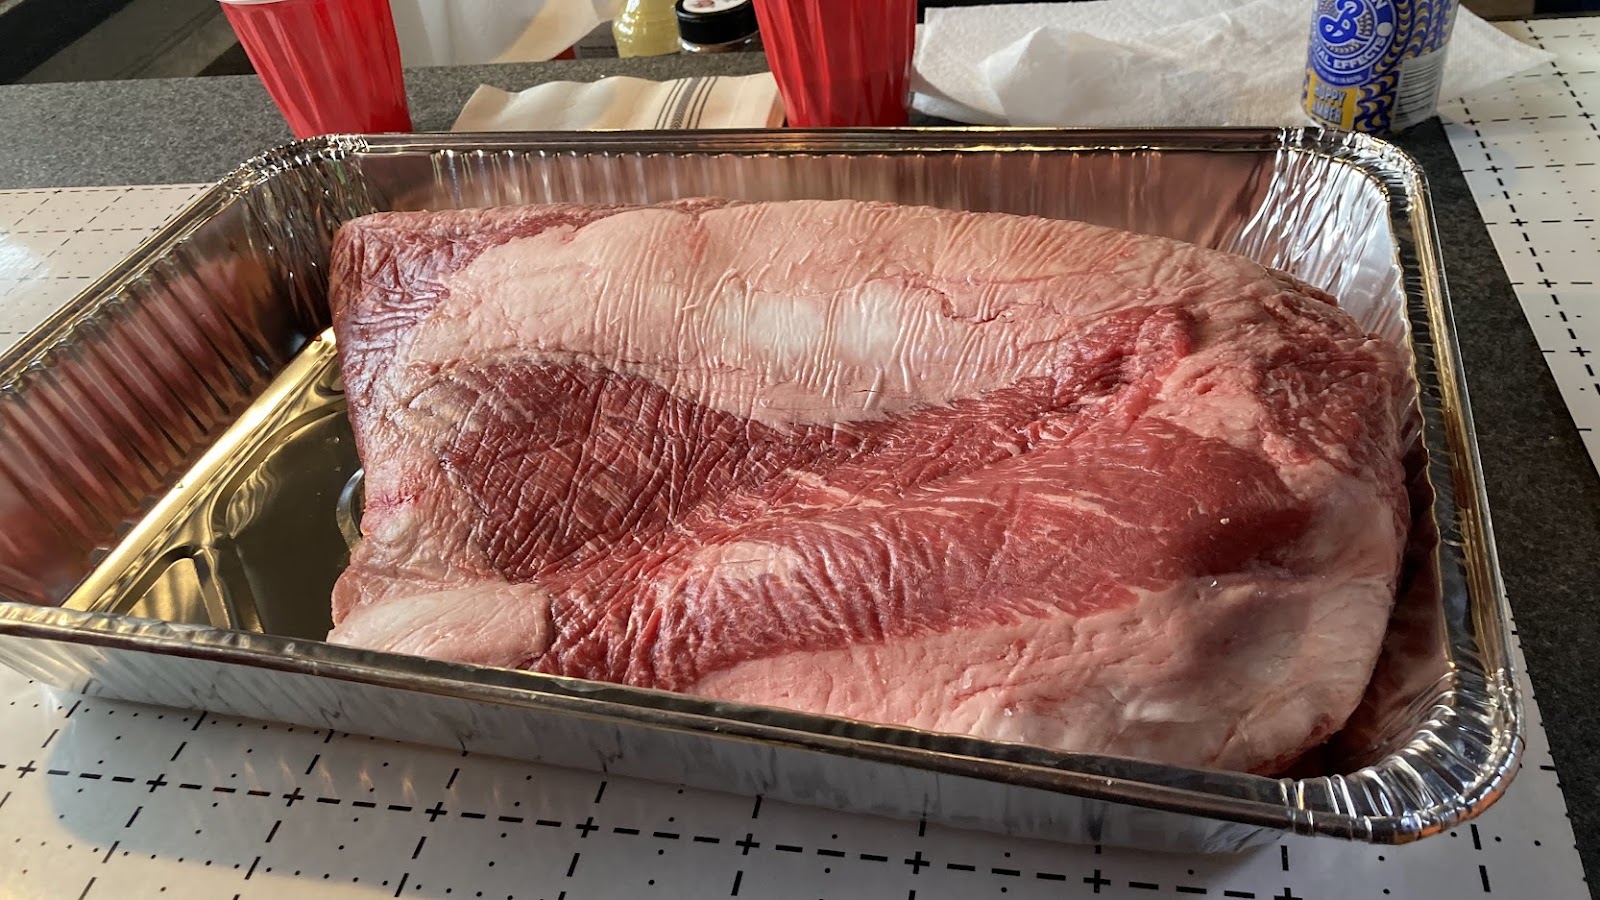
(photo by Stewart Campbell)
Slather and Season your brisket:
Slather
We’ve become a recent convert to the “slather” which is a moist coating that helps the rub stick and helps build great bark. For a slather, we like to use standard-issue yellow mustard mixed with some Worcestershire sauce. Usually, about a half cup of mustard and 2-3 tablespoons of Worcestershire will cover the brisket. As the name says, just slather it on all sides of your trimmed brisket.
Season
There are tons of great rubs out there, but the one that we see the most for brisket is known as SPG. That stands for salt, pepper, and granulated garlic powder. You can either mix this up in a ratio of 3 parts salt to 1 part pepper and 1 part granulated garlic, OR you can just freehand season your meat with all three. When we do SPG, we just freehand it.
Our other favorite brisket rub is a simple recipe of equal parts kosher salt, sugar, restaurant-grind black pepper, paprika, granulated garlic, and granulated onion, plus ¼ part dry mustard and ⅛ part ground cumin. Mix that up and liberally cover your brisket. The sugar helps build the bark and the rest of it just gives great flavor.
Here’s that same brisket slathered and rubbed and ready to smoke!
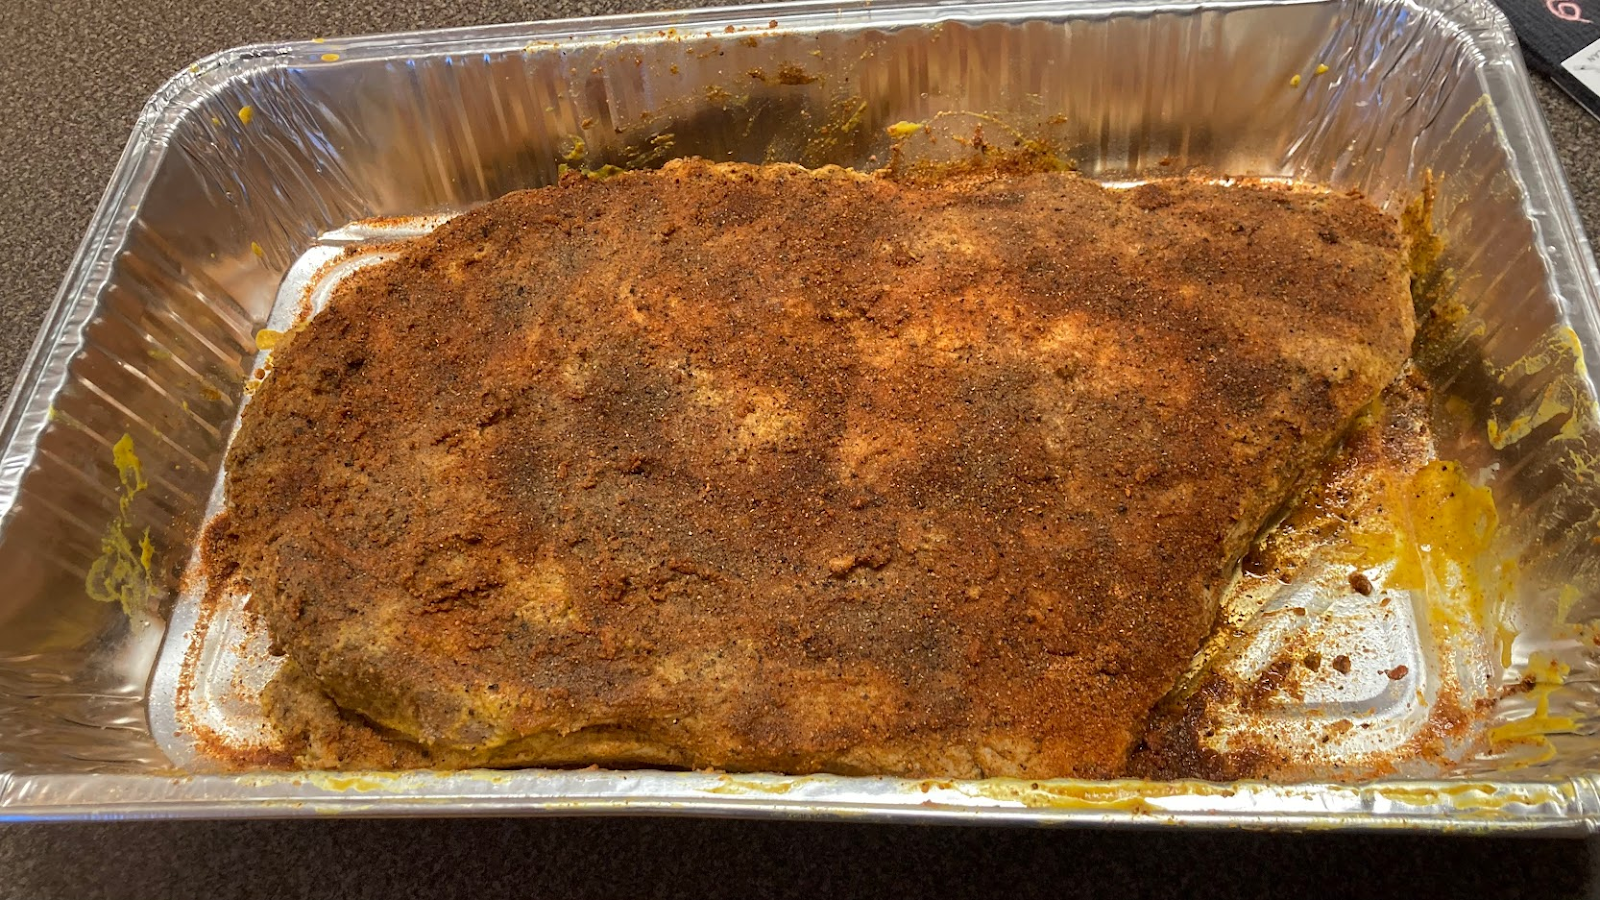
(photo by Stewart Campbell)
Cooking your brisket:
The method we recommend is low and slow utilizing the Texas Crutch. This gives you the most flavorful meat in a reasonable period of time – 6 to 8 hours versus 8 to 12 hours.
The idea is that when the meat goes into the “barbecue stall” (the point at which the temperature stops rising for a significant amount of time due to an interesting bit of physics where the rate of cooling occurring from water evaporating from the meat equals the input heat coming from the grill) you wrap the meat in either butcher paper or aluminum foil to slow down the evaporation and let the heat build. We’ll give more detailed instructions below.
Fire Up:
Preheat your pellet grill to 180 degrees heat with your favorite Griller’s Gold pellet. For brisket, we like SmokeShack Blend the best. If your pellet grill has a “max smoke” or “smoke” setting, use that. Let the grill preheat for 20 minutes then place brisket on the grill.
We have found better results by putting the thicker end away from the chimney on our pellet grill. If you have one, insert the probe for a remote thermometer, or if your grill has such a thing, that works too. Put it into the thickest part of the meat but make sure it’s not in a fat seam.
Fat Cap:
At this point, the biggest question we hear from folks is “fat cap up or fat cap down?” Some folks think that if you go fat cap up, it will melt and “baste” the meat. That’s actually a myth – the fat molecules are way too big to be “absorbed” by the meat. We go “fat to the heat” – so on most pellet grills, the heat is underneath the meat. The fat will help insulate the meat and as a bigger benefit, the side on top without the fat cap will develop an outstanding bark.
Ok, meat is on, let’s go.
Cook for 1 hour at this lower setting, then, without opening the grill, boost the temperature of the grill to deliver 250 degrees F in the grill. Some grills require compensation up or down which is why we wrote this in this way – know your grill!.
Spritz or Mop:
Many barbecuers like to use a mop sauce or spritz (a spray of some kind of liquid) every hour or so while the meat is smoking. Again, this is a personal choice – we’ve tested both ways and have found that it doesn’t seem to do anything other than extending the cooking time. As always, feel free to experiment.
The “Crutch”:
You’ll be cooking at this temp until it hits the “stall” – this is when the temperature doesn’t rise much over at least an hour’s time. The temperature this typically happens at is between about 160 to 170 degrees.
Let the brisket cook “in stall” for at least 1 hour (this helps verify the stall and this cooking time is also needed). The stall will come at about the 4th or 5th hour of cooking. After you’ve hit an hour of stall time, it’s time to wrap the meat.
On a side table, lay out your paper or foil. Use two strips at least 3 feet long and overlap them so your wrapping is at least 2 feet wide. If using butcher paper, spritz the paper with a bit of water just to help it easily fold. Fold the sides up over the meat and then roll it forward to wrap it up. Reinsert your temp probe. Put the package of meat back and boost the temp to 275 degrees. You can also move it to the oven – at this point, you’re just baking, not smoking.
Here’s our packer brisket at the stall when we’re about to wrap it.
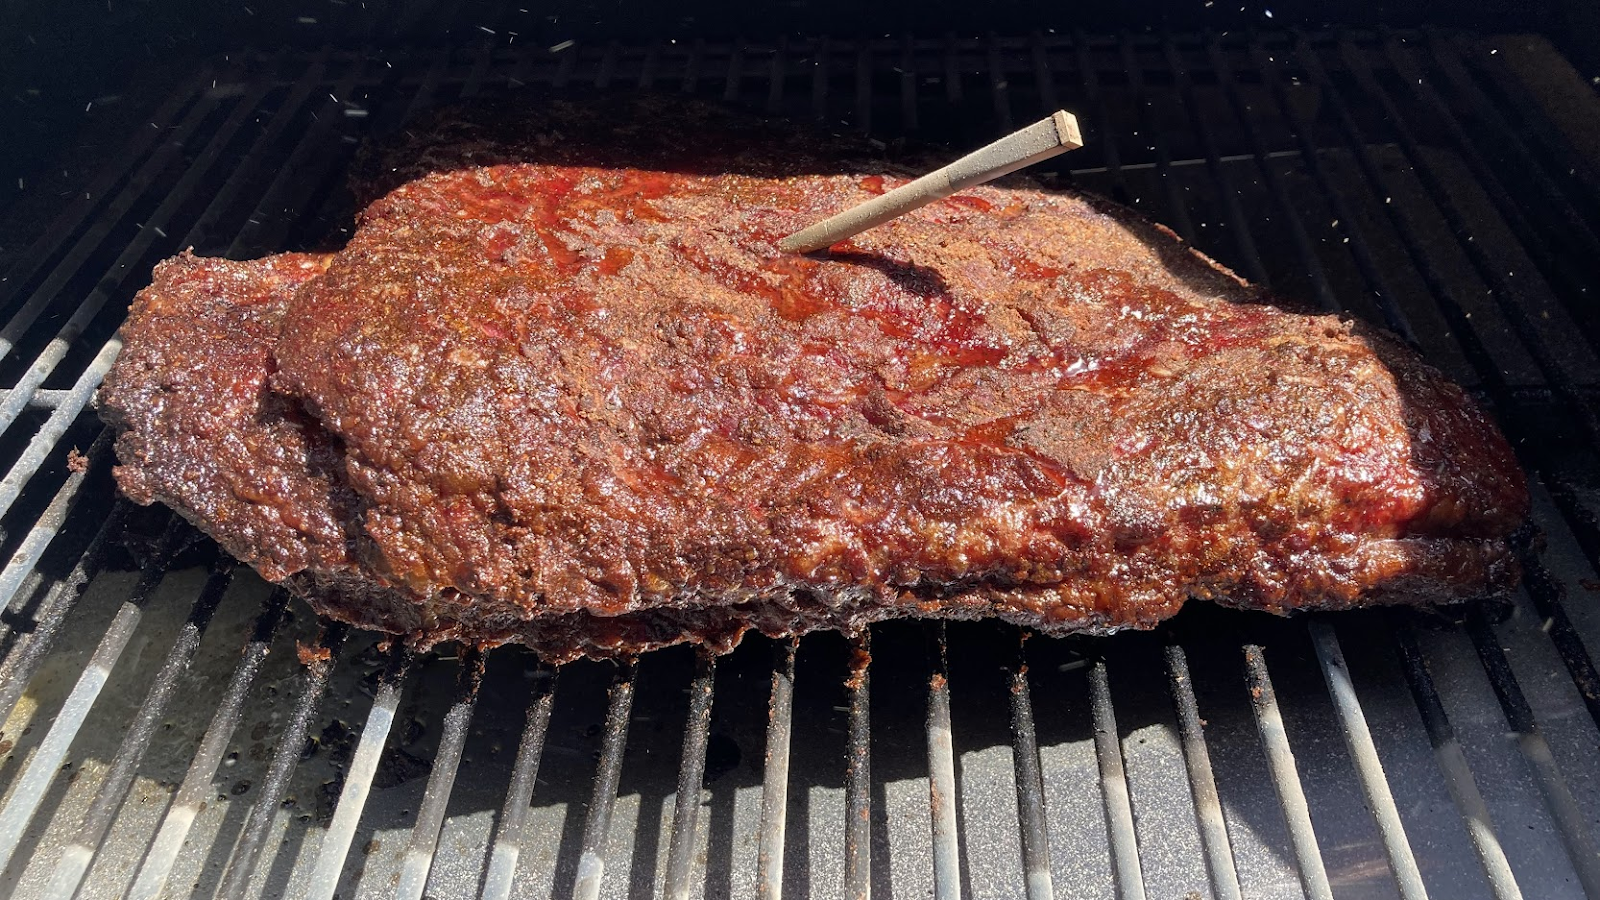
(photo by Stewart Campbell)
When your brisket is done:
Your brisket is done when the temperature hits 203 degrees internal on your probe. At that point, take it off the heat.
If using butcher paper, put one layer of foil around it (just to contain leakage). Then without disturbing the package, lay it in a large picnic cooler lined with a heavy folded towel on the bottom. Finish it off by laying another heavy folded towel over the top and close it up.
Let rest 1 hour (at least – with a good cooler you can rest up to 7 hours and still be at good serving temp). Then remove from the package, and slice and serve – be sure to not discard that marvelous juice that will be in the package!
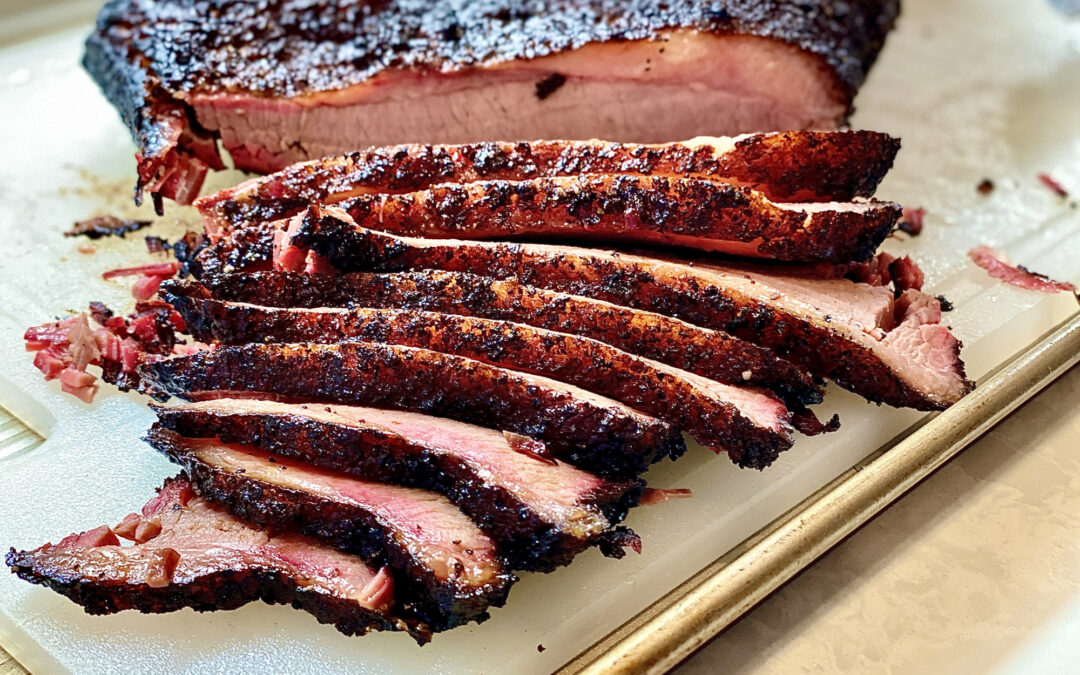
Slicing your brisket:
On a brisket, always slice perpendicular to the grain and ideally on a slant from top to bottom. This yields the most tender slices because the fibers are the shortest.
After the first few smaller slices (remember lopping off the corner so you knew where to start?), we like to make one big cut length-wise down the brisket, then go across the grain on each half – that makes for smaller, more sandwich-friendly slices.
Some advocate separating the point and flat for serving – we say, don’t. There’s something about those slices of brisket with both parts of the meat and an unctuous layer of fat between that’s completely sublime. If you do separate them at this point, be sure to carve across the grain when you slice it.
The perfect slice! This is the same brisket as the above pictures.
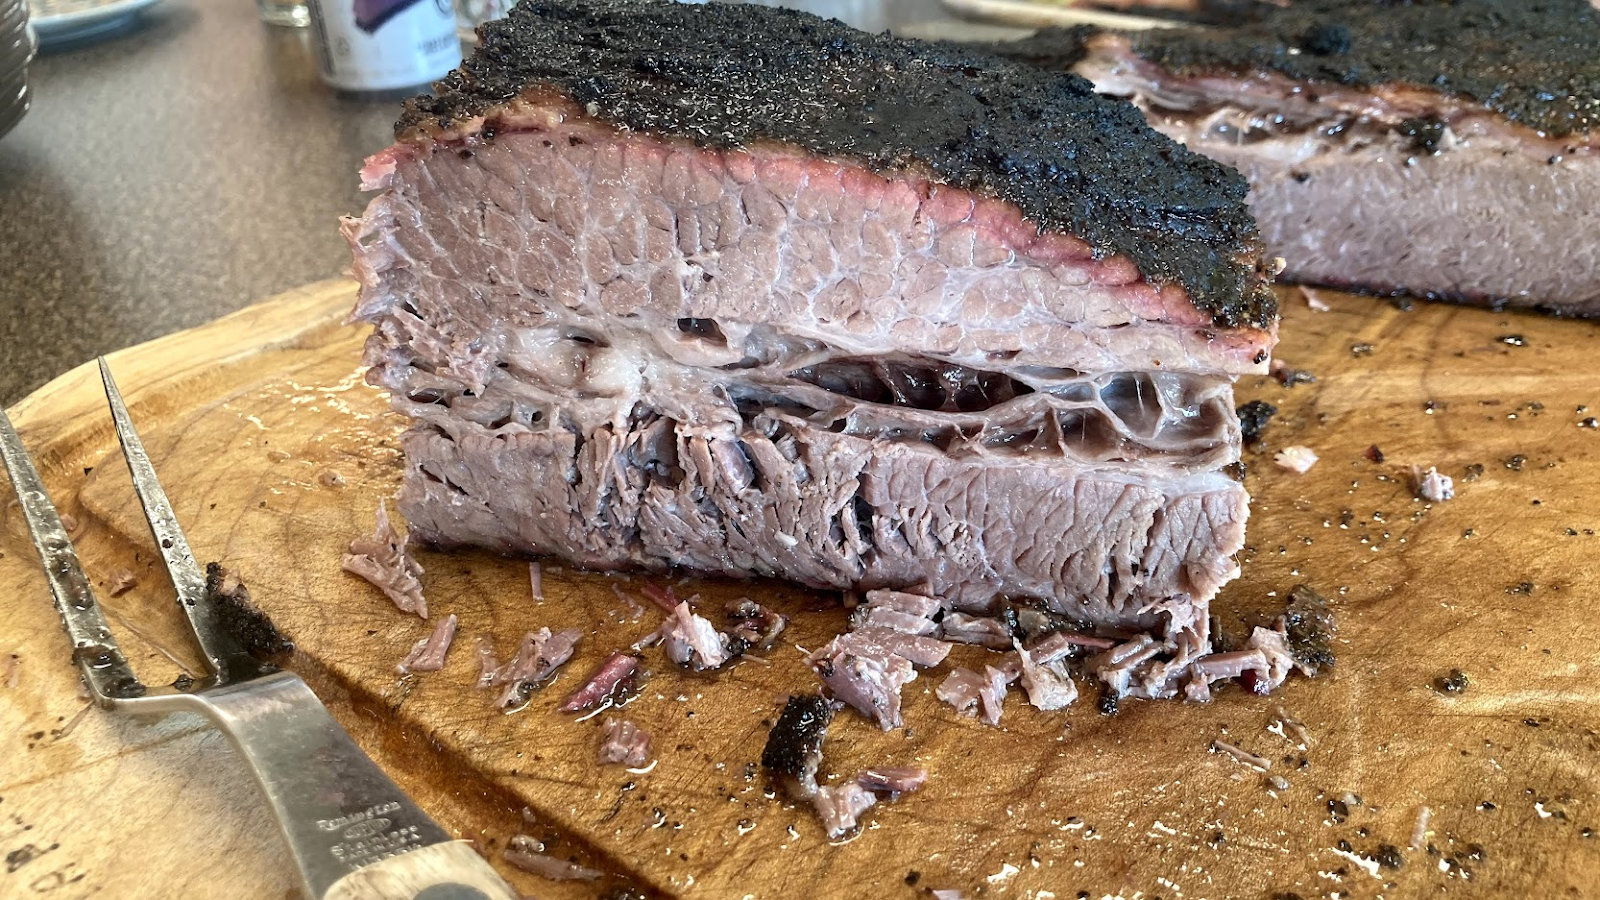
(photo by Stewart Campbell)
Sauce and Serving your brisket:
As you see fit.
That said, there are amazing sauces from famous restaurants available online and in-store. Perhaps try buying bottles from the famous places listed at the beginning of this article. Or roll Texas-style with no sauce.
Most true barbecue restaurants serve brisket with plain white bread, like good old Wonder Bread. There is something about it – it soaks up the juice so nicely. For sides, try smoked baked beans, cole slaw, and of course, fresh french fries are always a win.
And that’s it – follow these instructions and you’ll make amazing brisket too!
Smoke on friends!